Photographing your art properly really counts in a world where we view and judge millions of images daily. Promoting your art online or offline requires you to photograph it properly, because no matter how great a piece of art is in person, if you take a bad picture of it, the viewers will assume it’s just meh or bad artwork.
I am here today to help you take better pictures of your art, although I am not an expert photographer, I have been taking pictures of my art for catalogs, portfolios, social media, and so many other uses, and they always turn out the way I would want them to.
Check out this article for more insights: How to sell your art through social media marketing
Hack 1: Prep before you start photographing your art
To photograph your art:
- You don’t need a professional camera to take great photos of your art; you can use your phone, and honestly, any iPhone would do the job. I am an Android user for some reason, yet I always use iPhones to take pictures of my art because the stability, the quality, and the colors are so much better on iPhone cameras (personal preference, but you do you!)
- You need a tripod or any phone holder to keep your frame from changing while you take multiple shots.
- A good background or design wall is very helpful. However, if you can’t manage to have a wall in your space dedicated to this little task, you can use a portable board, like foam or cork boards, or even fabric, which you can take off and wash over time. I recommend a neutral background (nude, white, black, or grey, but choose according to what makes you feel the best).
Hack 2: Pin your art to the design wall
Photographing your art at eye level is the one tip to always keep in mind. If you’re preparing pieces to sell online, this short product photography guide offers practical, step-by-step tips on lighting, simple DIY lightboxes, and staging small artworks for clean, marketable shots (see: product photography guide). Not from a bird’s perspective, not overhead, because that will give the viewer an altered vision of what your artwork looks like IRL.
If you paint on paper or are doing embroidery, make sure to pin your paper or fabric to the design wall using heavy-duty pins that are strong enough to hold it in place but don’t show in the pictures (and yes, we’re going to edit the pictures afterward anyway). You need your art to lay very flat on the wall.
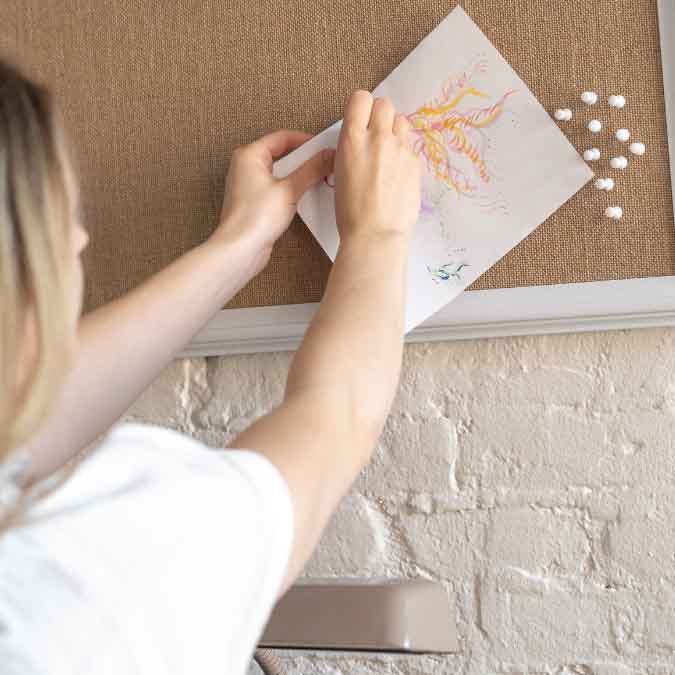
I would personally use corsage pins for this step.
If you paint on a canvas, you can just place your easel against the design wall for a better photography result.
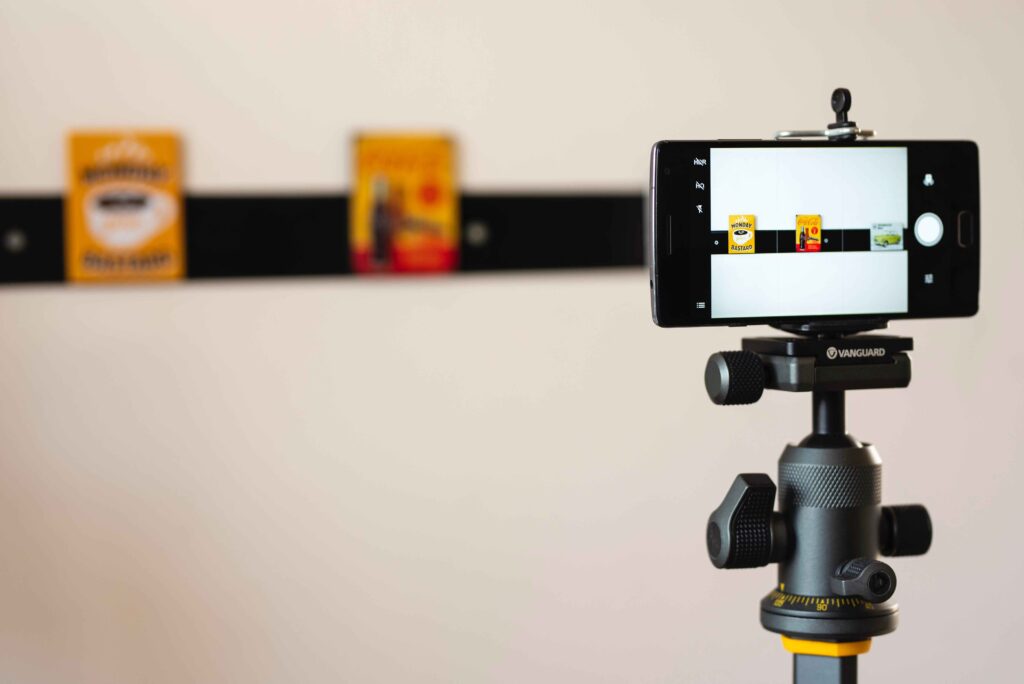
Hack 3: Camera set-up
Always shoot on a tripod and at a high resolution! You are going to measure how far is the center of your artwork from the floor. And place your camera at the exact same height using a tripod. Always make sure the center of your lens and the center of your artwork are at the exact same line.
- Use the timer on your phone to take the shots, you don’t want to be shaking your tripod, or phone/camera so that your artwork doesn’t turn out wiggled.
- Try different exposures so you can compare them later and choose the best result.
- If your artwork is a portrait-oriented surface, make sure your phone is oriented the same. And of course, if your artwork is landscape-oriented, flip your phone so you can get all edges taken into the picture. You don’t want a picture with a lot of empty space that you need to cut because it’ll cause you to lose resolution.
- If the artwork is too big to hang on your wall vertically or horizontally, you can hang it in the orientation that matches your wall, then flip it to its original orientation on Photoshop.

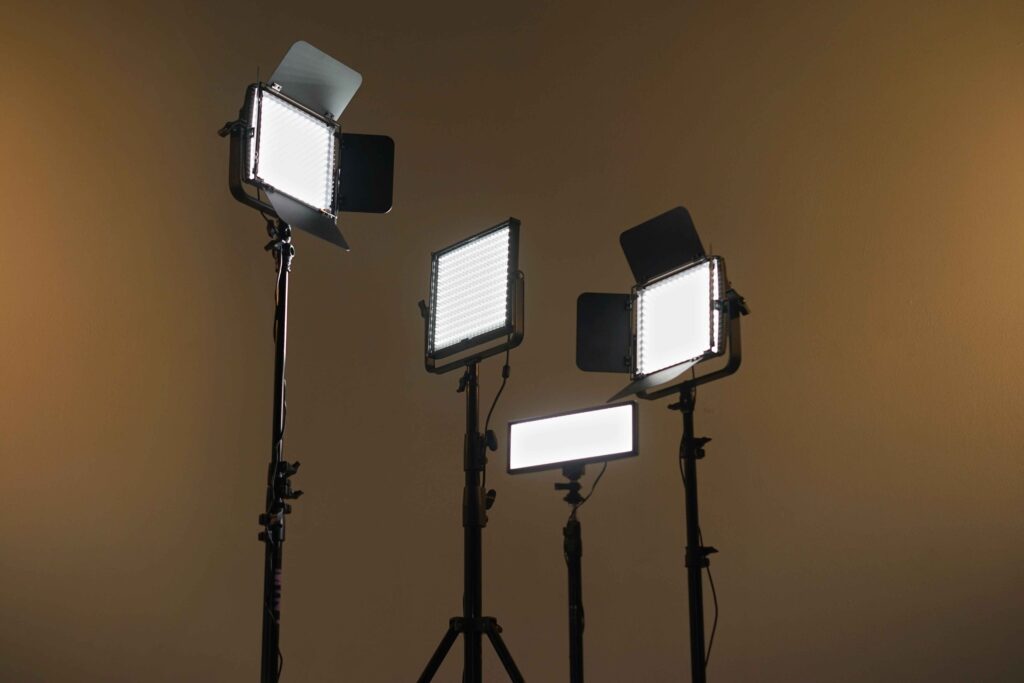
Hack 4: Photography is lighting
It’s very important to have even lighting all over your artwork. So let me show you how you can fix the problem of having uneven lighting in your room or studio.
- Place a whiteboard underneath where your artwork is, so it can reflect some of the light up onto the artwork.
- Of course, another good idea is to buy some free-standing photo lights. You can set them on the floor and light up your artwork from both sides.
- If you have the time and like to DIY, you can bring a big frame and stick LED light strips along the entire contour of the frame, then place it right in front of your design wall. You could hang it from the ceiling and put it down whenever you need it, or even make it tripod-like.
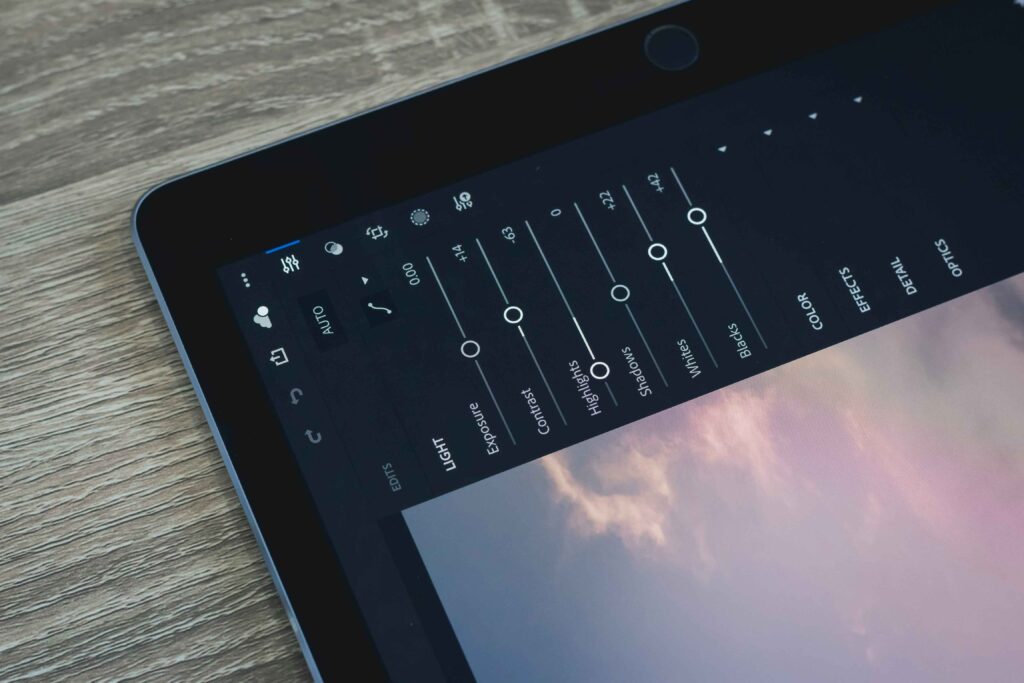
Hack 5: You will need some editing
Once you’ve taken your artwork pictures, you will need to move them to editing software. I am a big Photoshop and Lightroom person, but I often use Canva as well to edit photos and you can too.
As I have previously mentioned, do not crop the pictures of your artwork so you keep a clean, high resolution. Leaving about an inch from all sides of the artwork is great so all the edges could show up in your art photograph.
Always change your sizing in the Photoshop settings instead of cropping for different entries.
You can always play around with the light, sharpness, contrast, and even hues. Try things and compare them to how you see your artwork in real life; the moment it matches, you’re done and ready to use your picture.
Conclusion
While photographing your art, it takes a lot of time for you to set up and find good lighting and all of that jazz. So, next time you’re willing to take a photo of your art, make sure you have multiple pieces on hand so you can use the time you took to set your space wisely.
I love it when people come together and share opinions, great blog, keep it up.
I genuinely treasure your work, Great post.