I haven’t painted using watercolor in years. But I recently used it for one of my art journaling sessions and rediscovered how soothing and accessible watercolor painting is. So I decided to share with you some of my tips for mastering watercolor painting using easy, basic concepts such as values and color theory.
This page contains affiliate links, meaning I earn a commission if you use those links. Please read my Disclosure for more details.
What is watercolor painting?
Watercolor painting (also called aquarelle) is a method of painting in which the paint used is made of pigments suspended in a water-based solution. I have in the past shared different types of paints and how each one of them works, so you can check that out here.

What do you need for watercolor painting?
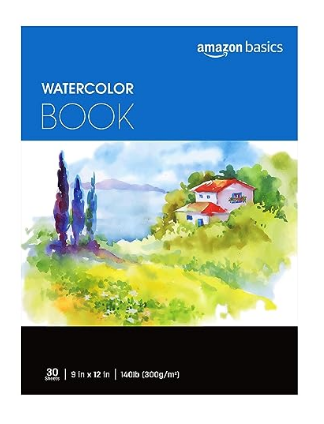
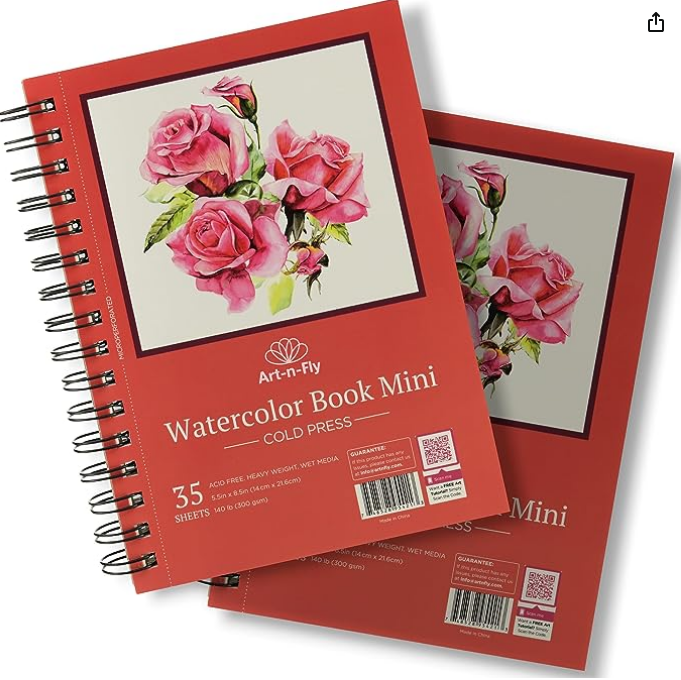
First, we need watercolor paper. And I mean paper that is specially made to handle the flow of water and paint. I would personally get a medium weight (140 pounds or 300 CM paper). You can choose between watercolor pads, books, or individual sheets. I recommend pads because, whether you use them for practice and studies or to paint actual creative artwork, they are easier to store, carry around, and keep all your progress in one place.
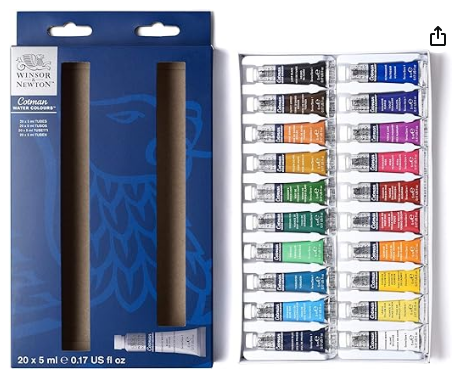
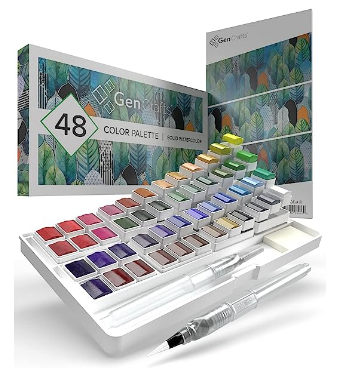
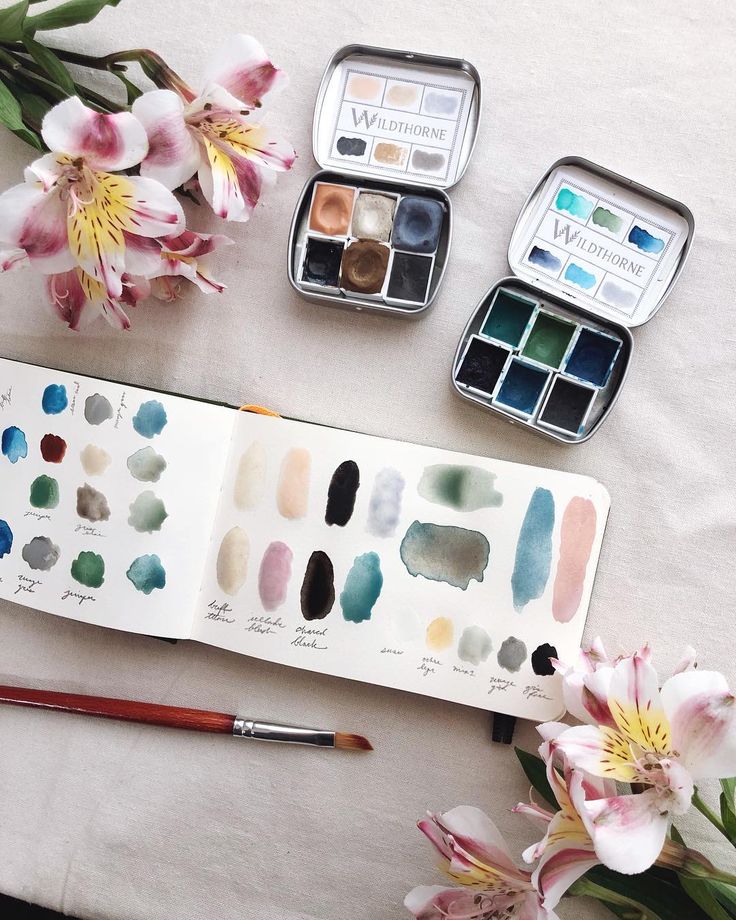
Your second need will be watercolor paint. They come in tubes as individual colors or in palettes. Both are the same, but I prefer mixing my shades, so I would rather get individual paint tubes in a limited range of colors.
Then, of course, you need to pick up your brushes. I have a whole guide on how to buy and maintain your brushes to last a long time.
Your next supply is a spray bottle of water. You need to activate your watercolors before you start painting which is a common mistake among beginners that leads to pale washes of color.
The extras will be a pencil, an eraser, some scotch tape, a cup with water to clean your brushes, and tissue paper for cleaning because watercolor painting is a bit messy.
Time to get started with painting
To get started with watercolor painting, you need to begin by getting used to the medium first. Spray your colors with water, take your brush, and get it filled up with the activated paint, then go ahead and start swatching your colors on the paper. Use the brush wet and dry, paint with both the tip of your brush in lighter and stronger pressure, and just see what the different achievable outcomes are with the supplies you have on hand.
Once you have developed a bit of a connection with your supplies and are ready to create something with them, it’s time to either go with the flow of what your hands feel like creating or follow my guide which will require a bit more focus and determination.
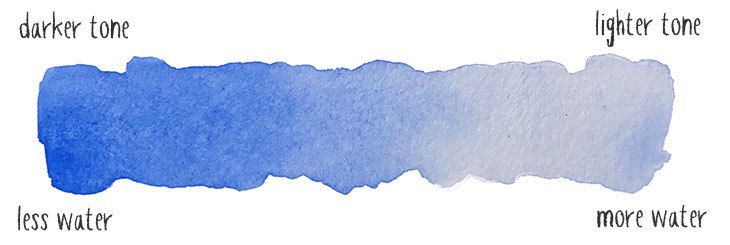
In watercolor painting, tonal values and contrast play a very fundamental role, because you do not use a specific color from the color wheel to make your colors lighter or darker, rather, you use water to change the tonal value of your colors. A lot of water with a bit of paint will result in a lighter tone, while a lot of paint with a tiny bit of water will give you a darker tone/value.
Practice painting different values using watercolor
Your first practice is quite simple but makes the most sense for watercolor color painting practice. You are going to grab a sheet of paper and draw a tonal value scale going from 1 to 5 as follows
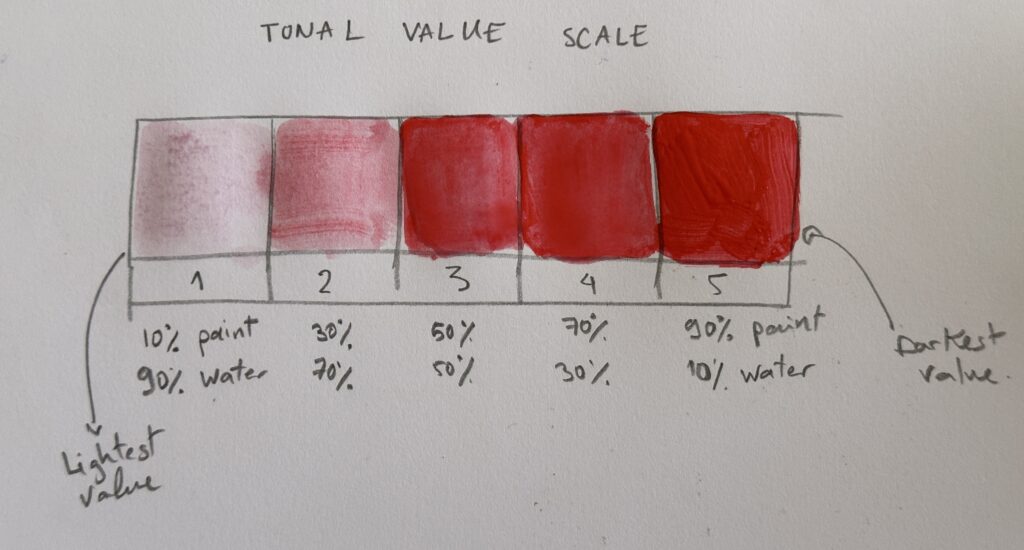
Try this practice with different neutral shades such as gray or tan (I used red because it picks up better on camera) to understand the scale value better.
The power of values
The mistake that most beginners make when painting with watercolor is to focus on using many different colors instead of many different values. Using two or three values only will make your paintings look all flat. Using many values and placing them correctly next to each other is what creates contrast in your artworks and gives them a sense of depth.
You need this! Painting Depth and Creating Distance as a Beginner
In many of my previous articles, I have talked about the different grounds of a painting, foreground, middle ground, background, horizon line, and focal point. Let me talk briefly about this for those who don’t know about it.
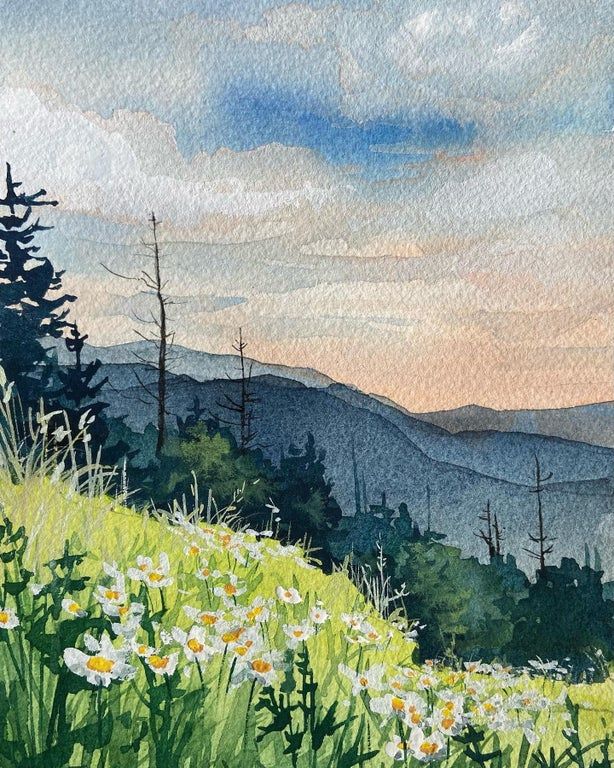
- The horizon line: is the visual boundary where the sky separates from the land
- The background refers to the area or the space in the distance (the sky and the distant mountains in the painting above)
- The middle ground occupies the space between the background and the foreground; we usually place our focal point in the middle ground for the best visual balance of the composition.
- The foreground: the nearest area in our painting, aka the grass and flowers in the painting above.
- The focal point is the main interest of our painting. The area that our eyes naturally fall into or gravitate towards. In this case, it is the trees and the flowers.
But how does this relate to tonal values?
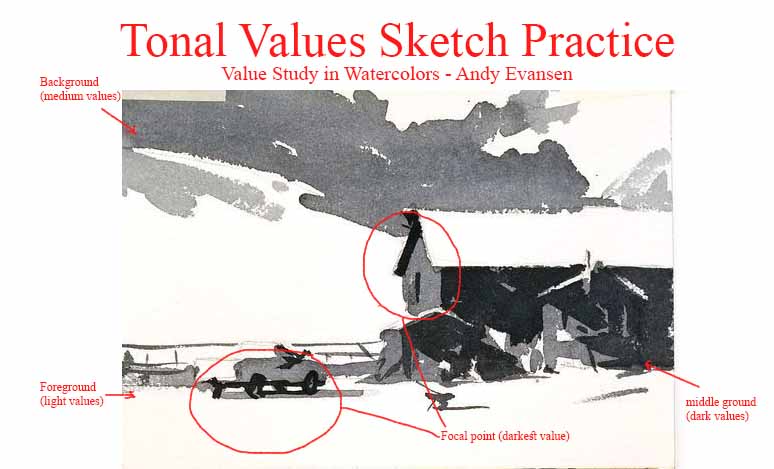
We use dark values for the foreground, light tones for the middle ground, and mid-tones for the background, and then we paint our focal point in darker values and place it in the middle ground to pull out the focal point using the dark value from the foreground to draw the viewer’s attention back to the focal point.
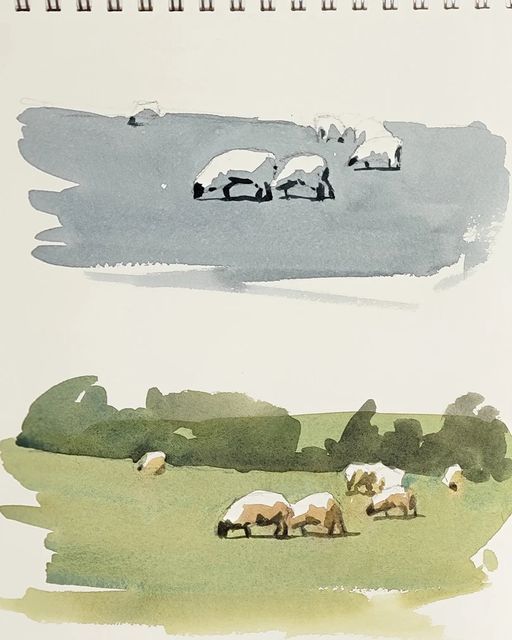
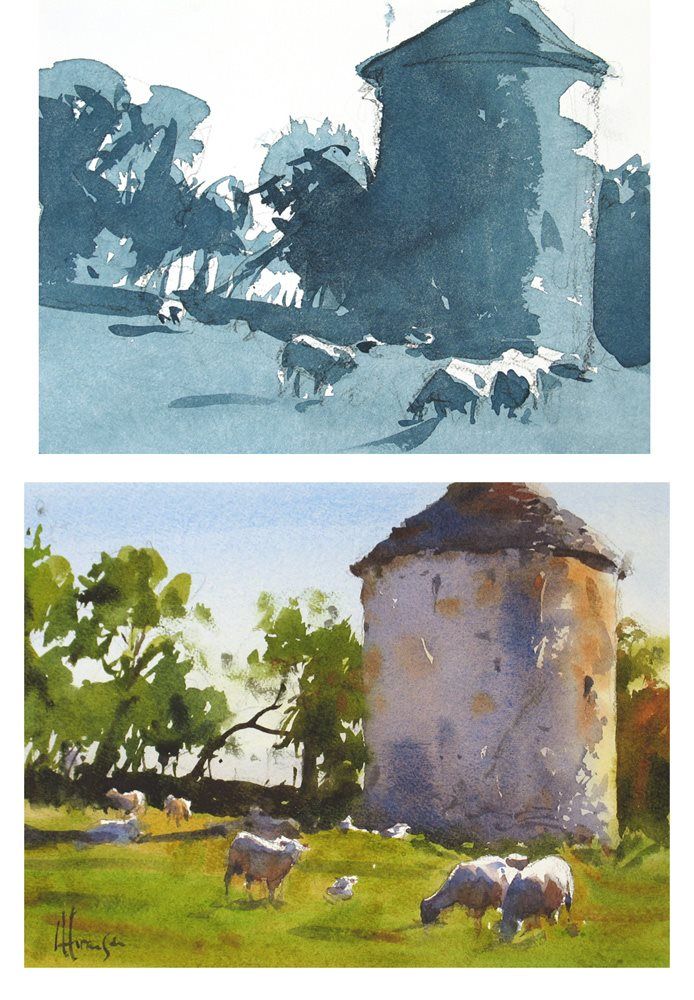
To better understand this, check out this painting in both tonal values (black and white) and in actual hues of watercolor.
Your turn to create a value sketch
You’re going to create a sketch using only one color and change the tonal values according to the instructions I gave in the previous paragraph.
You see how you’re able to create depth in your painting by using just values and creating contrast.
Watercolor painting techniques
Watercolor techniques are a building block in your watercolor painting. The main painting techniques I will be talking about in this article are wet on wet, wet on dry, wet on moist, and dry on dry.
- Wet on wet means applying wet paint to a wet surface. This technique creates soft, diffused edges. Great for painting skies and larger areas in your work. You create this by painting a layer of clean water on your artwork, then wetting your paint with a ratio of 70% paint to 30% water and applying it on top of the water.
- Wet on dry is when you apply wet paint to a dry surface. This offers precise control of your brush and is great for painting details, defining edges, and creating lines. It is often great for painting mountains or other shapes in the background.
- Wet on moist involves adding wet paint to a moist surface instead of a wet one. This means the edges will be soft, which makes it ideal for painting gradients and layering colors. It makes a great base for adding further details to the foreground as we paint along. You can achieve a moist surface by wetting the paper and then letting it absorb a bit before applying the paint on top.
- Dry on dry means applying dry paint to dry paper to create bold textures and granulated effects. It’s great for laying without disturbing the underlying colors, as the paint won’t blend easily. You can use this to paint details and add final touches and texture to areas like your focal point and foreground.
With that being said, it’s now your time to experiment and see what you can create with your new watercolor painting knowledge.
Conclusion
Remember that mastering any art technique or medium is an ongoing process. Feel free to create at your own pace. If you enjoyed this article and found it helpful, make sure you check my other articles about pencil drawing, colored pencil drawing, oil pastels, acrylic paint, oil paint, and many more relevant topics in art and creativity.
And as always, enjoy creating <3
1 Comment