Last weekend, I introduced my nephew to an activity that was very fun to try. Making a flip book. I have made a couple whenever I wanted to create an animation on Procreate because I am such a pencil and paper kind of artist, and I find it very hard to digitally create something before making sense of it in a traditional manner. So in this article, I am going to be sharing with you how to make a flip book yourself with very simple yet fun story ideas.
You can find other ways to spark your creativity here: 5 ways to instantly spark your creativity
This page contains affiliate links, meaning I earn a commission if you use those links. Please read my disclosure for more details.
How to make a flip book? The art supplies needed
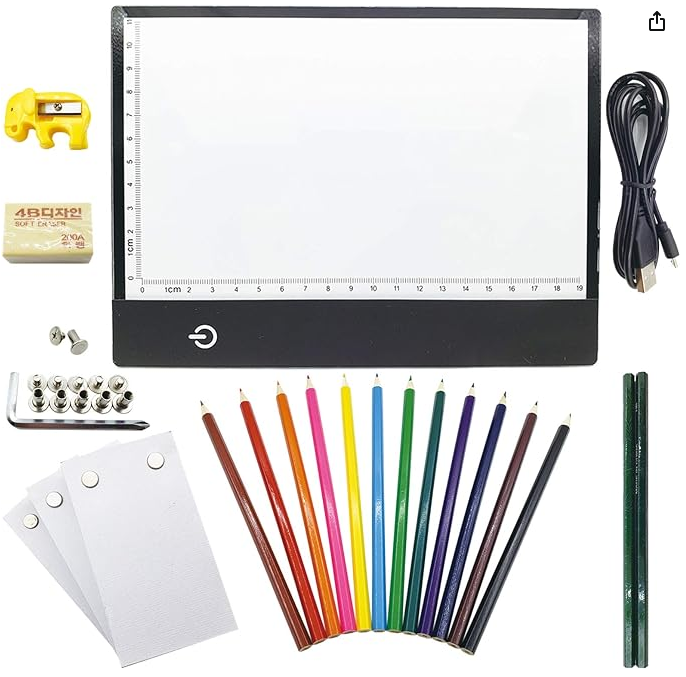
You typically only need a couple of things to DIY a flip book, such as:
Or you can save yourself the hassle and order a flip-book kit ready to use on Amazon.
Making the story for your flip book
Before you start creating your flip book, you will need a story idea. The more actions an idea has, the more complicated it will be to create. So try to be as simple as possible. Here’s a list of simple ideas that you can base your flip book on.
- Smiley, face-changing expression
- Growing plant
- Stick figure animation (hand wave, walk, dance, etc.)
- Bouncing ball
- Flying bird
- A story of your choice with basic shapes (a circle and a square having a conversation for example)
- Stick figure jumping over an obstacle
The key to a successful flip book is to keep the drawings simple and focus on creating smooth transitions between frames to give the illusion of movement.
The steps to creating a successful flip book
1. Conceptualize Your Idea
After you decide on the idea for your animation, start conceptualizing it. Consider what you want to animate and how you’ll represent it across multiple frames. Keep your concept simple and manageable for your skill level.
2. Sketch out your storyboard
Break down your animation into keyframes or scenes, indicating what will happen in each frame. This will serve as a roadmap for creating your flipbook.
3. Prepare Your Paper
Make sure the paper is thick enough to withstand flipping without tearing but thin enough to easily flip through.
4. Start Drawing
Begin drawing your animation on the first page of your flipbook. Use light pencil strokes to sketch out your drawings, focusing on one frame at a time. Keep your drawings simple and clear, as intricate details can be difficult to replicate across multiple frames.
To keep the placement of your main objects consistent, place a light source under your paper and keep on working and creating your frames.
5. Roll your pages to make sure your animation is correct
To ensure your result is correct, you will need to keep testing and adding frames along the way if needed.
Conclusion
Flipbooks are super fun to create. You can also include kids and adults in this activity or make it yourself and use it for storytelling and content creation—similar to how you might design a personalized photo book with Mixbook, turning creativity into something tangible.