In a previous article, I shared with you a beginner’s guide to oil pastels as well as some useful tips to get you started with this easy and fun medium. In today’s article, I want to walk you through a step-by-step tutorial on how I draw oil pastel water lilies. If you are interested in practicing with me, let’s get started.
Disclosure: This blog post may contain affiliate links, which means I may receive a commission if you purchase the products I recommend. While purchasing the products I recommend won’t cost you any extra money, they will help me keep this blog up and running. Thank you for your support!
What you’re going to need:
- A sketchbook (I am using a semi-smooth surface black sketchbook to make it a little more challenging. Feel free to use white or a neutral-colored paper sketchbook like this one).
- A set of oil pastels.
- Your fingers for blending
Oil Pastel Water Lilies
Step 1: working on the water lilies as a focal subject
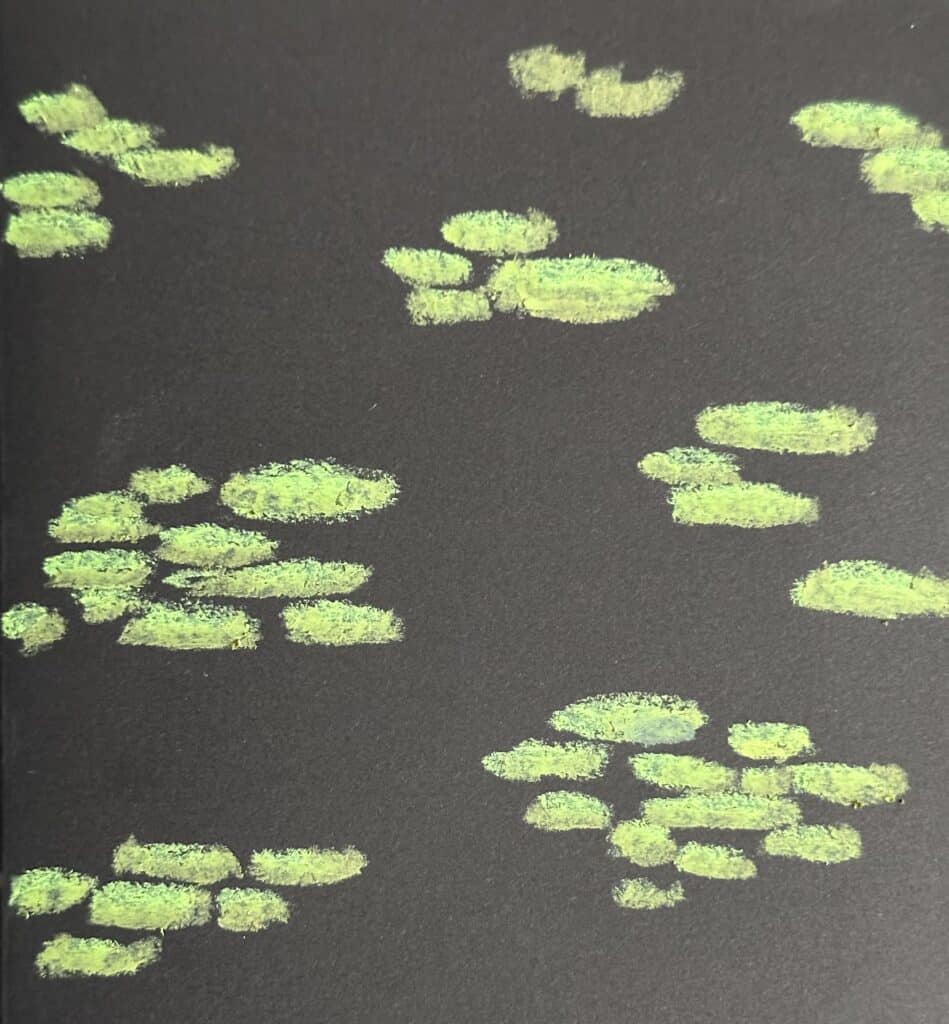
We’re going to start off with drawing oval shapes using the lightest green shade in your pastel set. These will be the water lily leaves.

Our next step will be to give the water lilies some dimension. For that, we’re going to darken the edges of the leaves, first with a darker green, then with a brownish oil pastel. Oil pastels are pretty tolerating, so if you feel that the shade you used isn’t cutting it for you, you can always build another color on top of it.
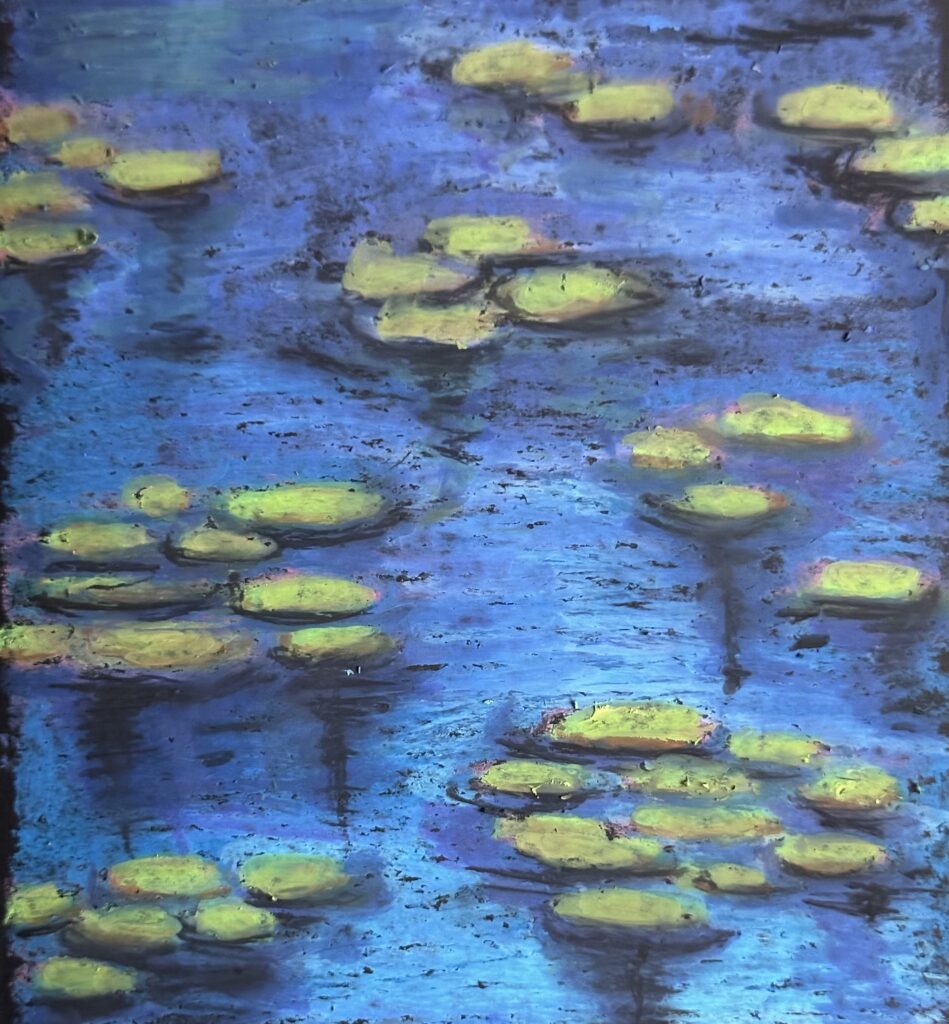
Step 2: Creating the background of our painting
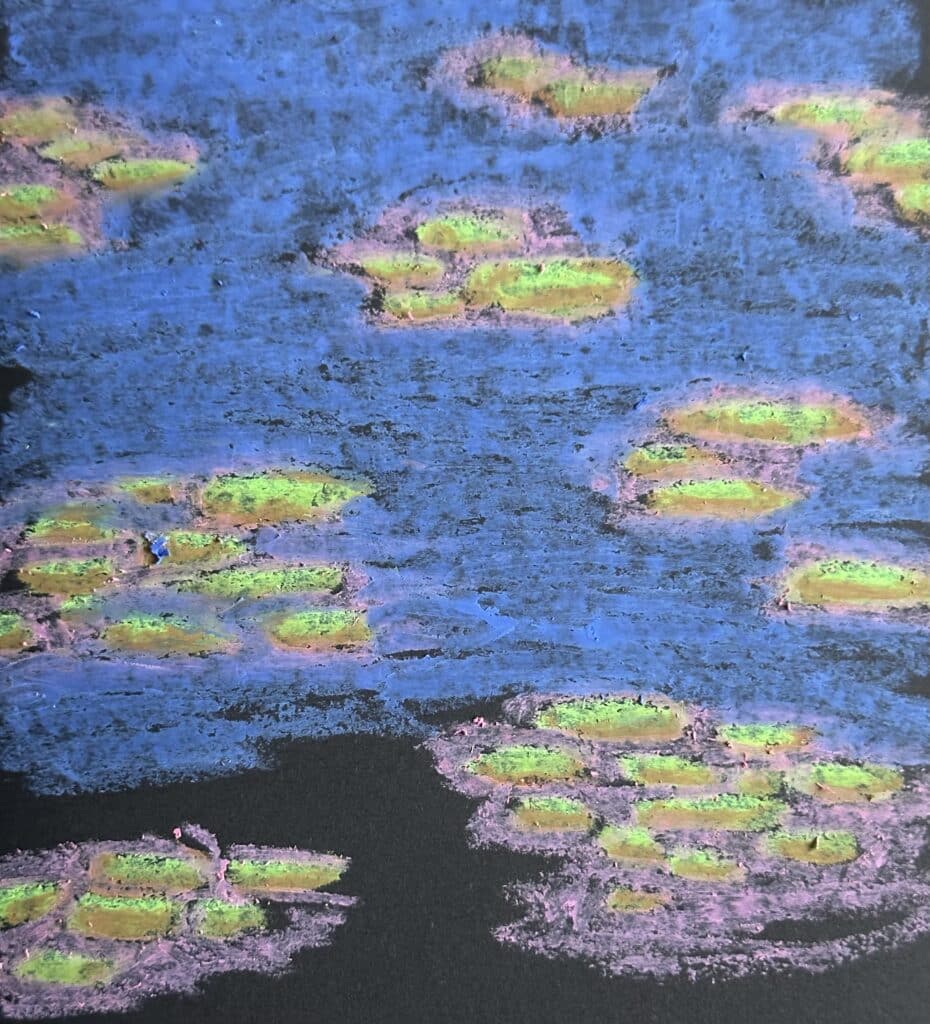
With our main subject on the surface, it is time to move on to the background. This step requires more blending, so get your fingers ready. Water lilies live on water surfaces, so our background is going to be an attempt to paint a body of water. I started with a light pink around the lilies to create a bit of an underpainting (totally optional but if you have ever used oil paint before, you know the big difference that underpainting makes).

Next, we’re going to add darker blue to the top edge of your work and lighter blue to the bottom. The goal is to create this color gradient to give the water a realistic look. You can see in the following pictures that I pushed the lighter blue over the deeper blue to avoid any harsh transitional lines.
Tip 1: You might be tempted to use your fingers to blend the colors at this stage, but I highly recommend you be patient because we’re still going to be building the pastels into more layers. The oils in your fingers might saturate the surface and make it harder, even impossible to add more layers on top.
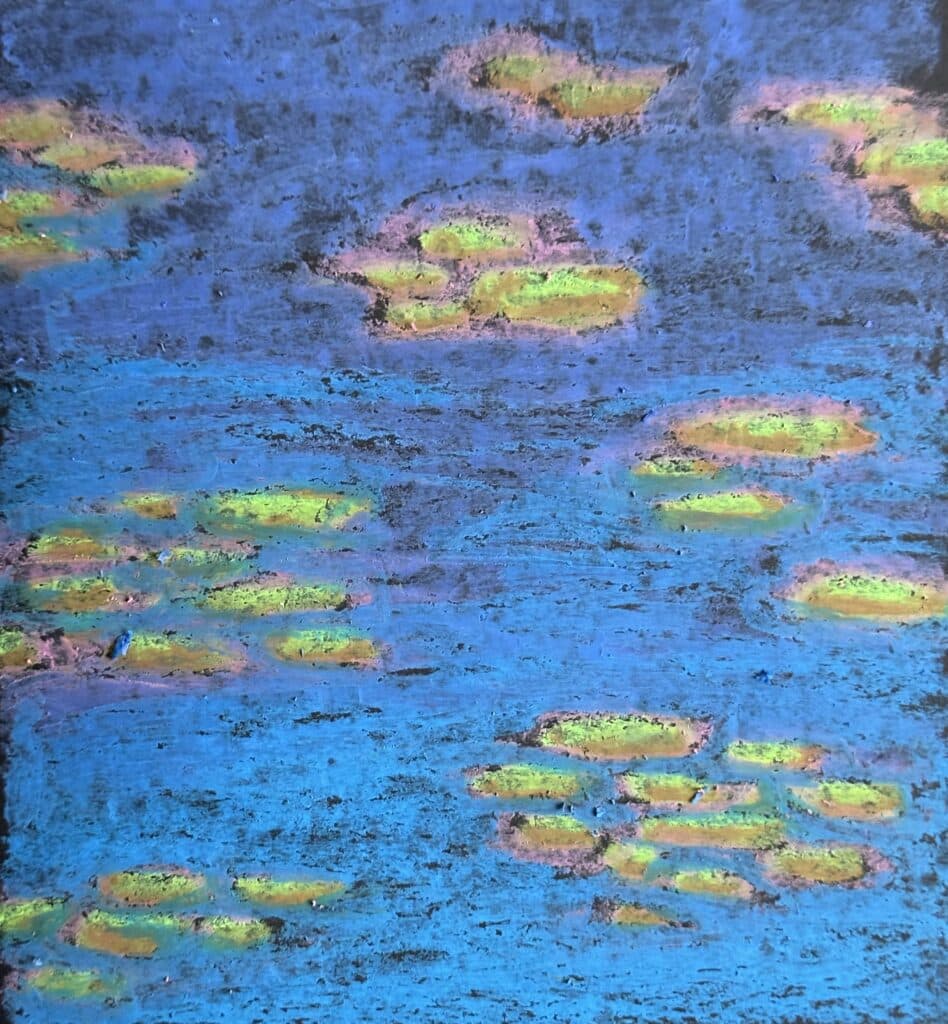
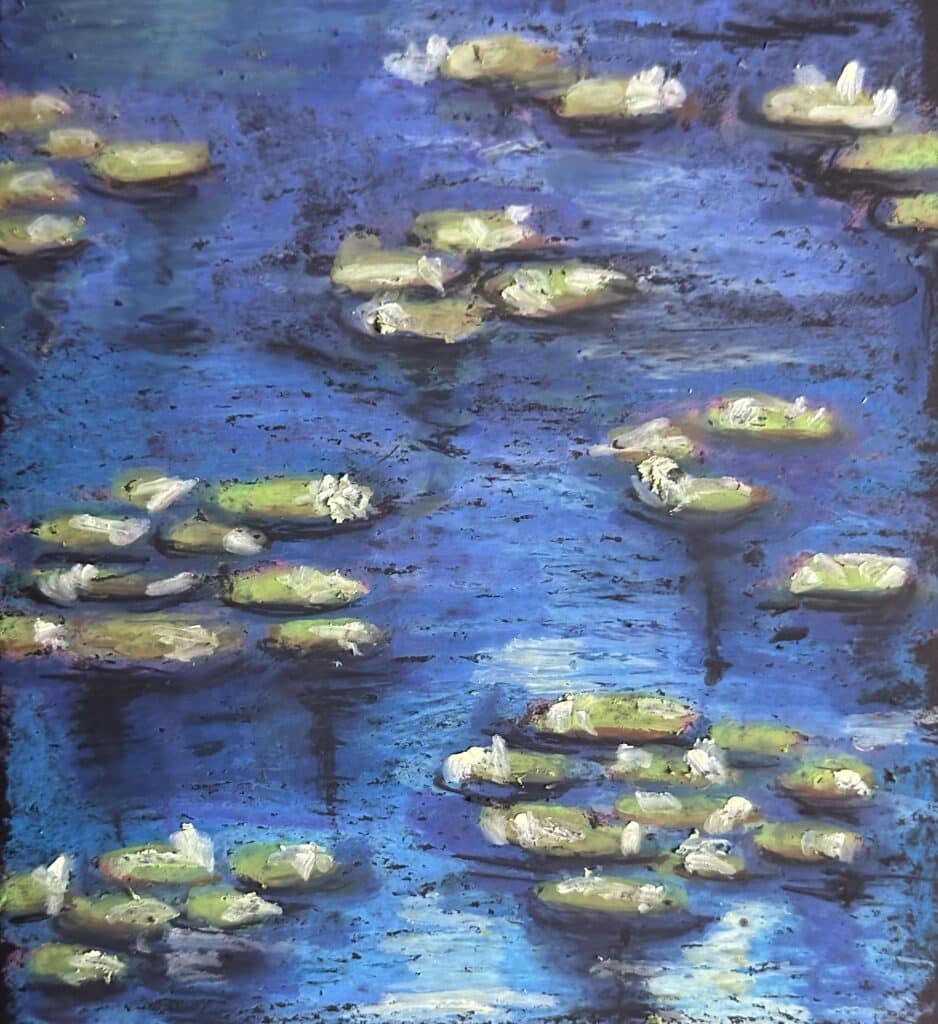
Step 3: Lights and shadows
Once we have the base of our artwork figured out, it’s time to give it all more dimension. This is done through light and shadow. I first started with a very light blue color to define where I wanted the light to hit. Think of your overall painting; what’s your light source, and where is it located? this will help you understand where to layer dark and light colors. I used dark blue pastels to draw shadows under and around the water lilies, which gives them the effect of floating on the water’s surface. I used the light blue color to create a soft moonlight-like feel on the water’s surface.
Tip 2: You can go again with your greens and redefine your water lilies to make sure the color payoff matches the build we have going on in the background. Remember that your water lilies are your focal point in this drawing, so work accordingly.
You need this! Painting Depth and Creating Distance as a Beginner
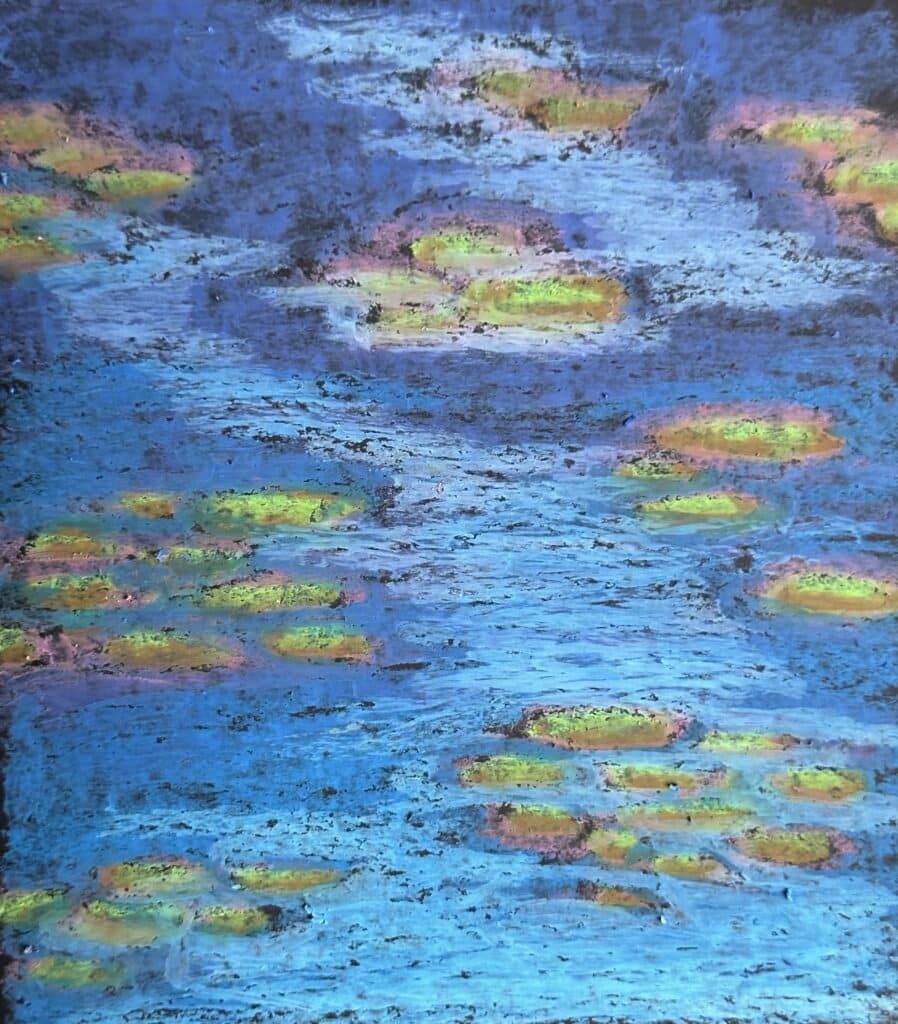

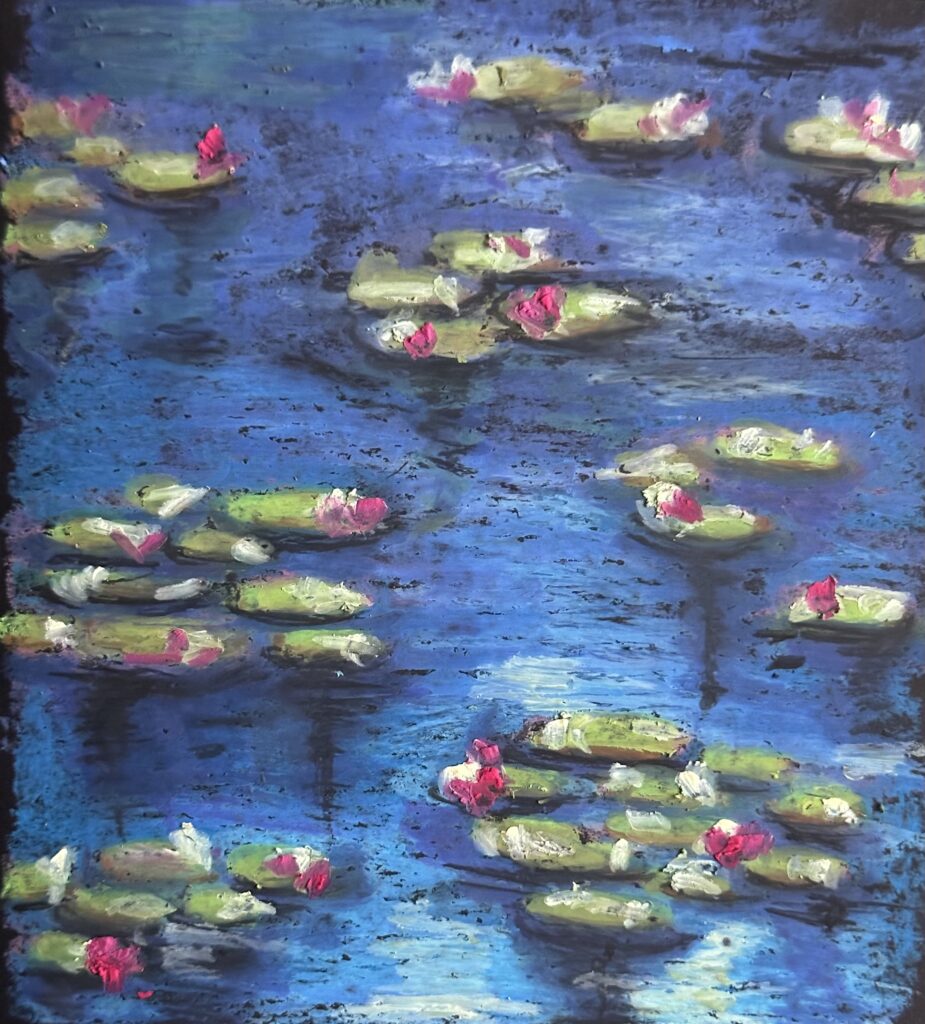
Step 4: Finishing touches
Now that we are satisfied with our shadows and lights, it is time to move on to the finishing touches. With a light cream or white (I would personally avoid using white because I do not want any harsh light on the painting), use the light-colored pastel of your choice, and with some pressure, mark the places for your lily flowers. They don’t have to be perfect; just draw little oval and round shapes where you want your flowers to be and that should do the job.
You can now finally move on with your magenta to create flowers. I also added some light pink flowers in the background and some yellow strokes to balance out the overall painting.
Tip 3: While working with oil pastels, make sure you build your pressure as you go. Start with a light hand and then build the pressure to your desired final layer. You can also use a palette knife to scrape some color off your pastels and apply it straight to the surface.
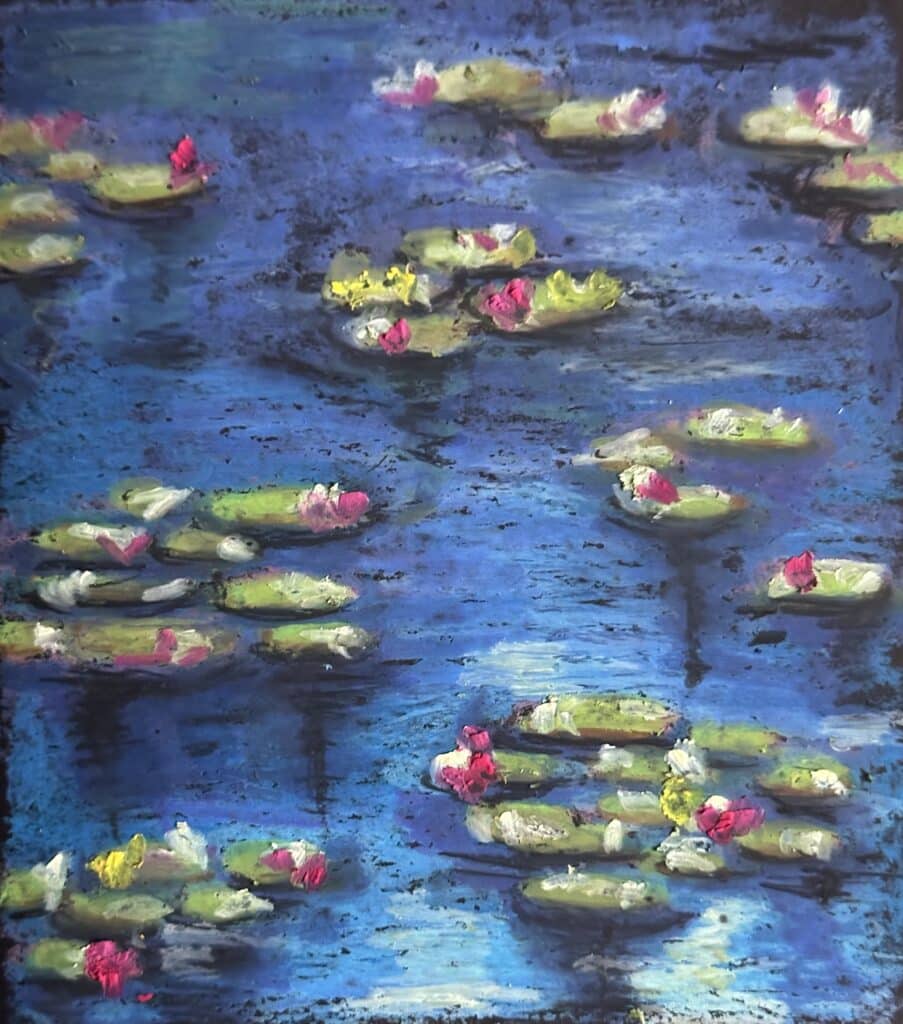
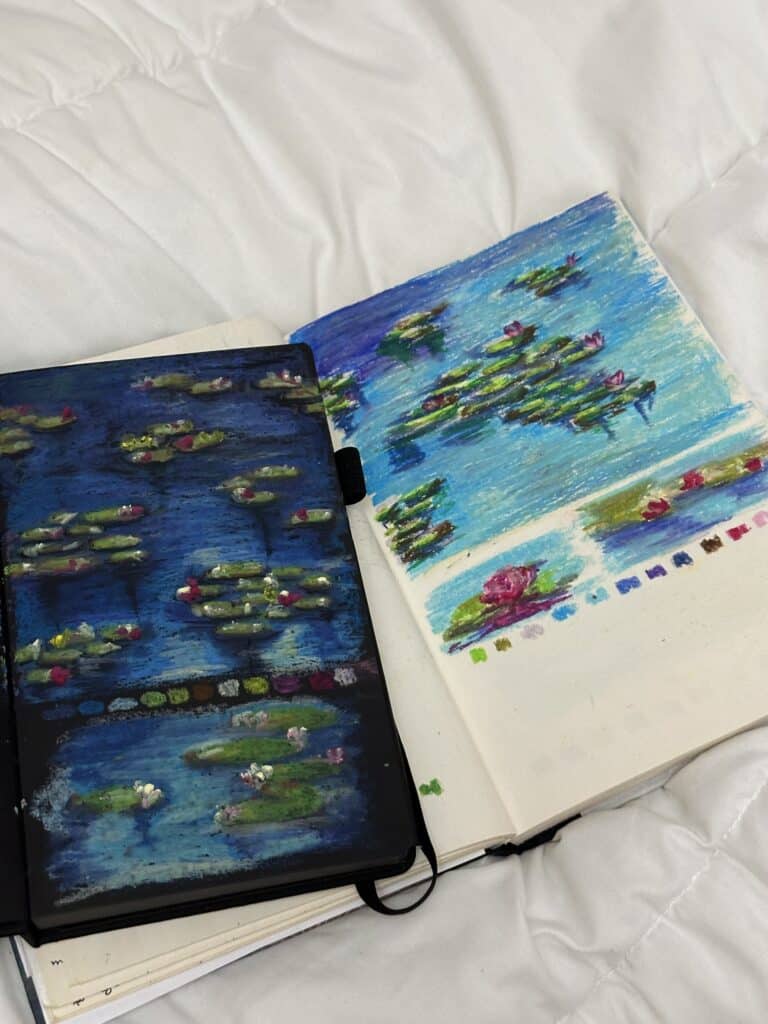
Final product
I added another close-up scene of the water lilies and the palette for color references and that is it.
Conclusion
Let me know if you recreate this oil paster water lilies painting yourself and subscribe to my blog for more art and creativity content.
Enjoy creating <3
1 Comment