If you’re like me and have been seeing this textured plaster art all over and wonder how you can make your own textured 3D art, this one is for you!
Disclosure: This blog post may contain affiliate links, which means I may receive a commission if you purchase the products I recommend. While purchasing the products I recommend won’t cost you any extra money, they will help me keep this blog up and running. Thank you for your support!
What do you need to make textured plaster art?
Material-wise, to try this project, you’re going to need:
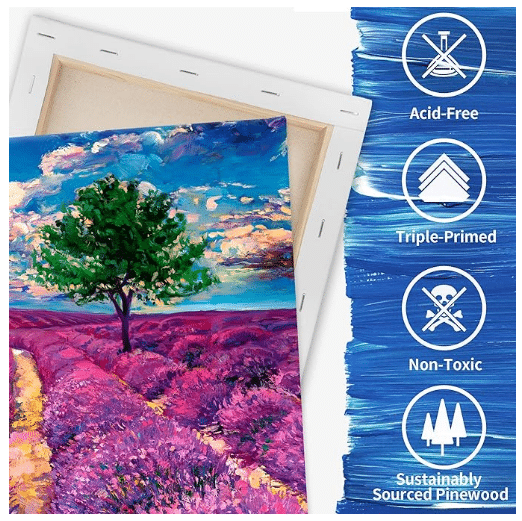
A canvas
You need a good stretch canvas. Nothing fancy, and you can grab a pack on Amazon to try out this project.
Method 1: Make textured art with plaster and fabric
Cardboard/wire
For the next step, you will need something to hold your shape in place. You can either use cardboard or wires to design the base shape that you can follow.
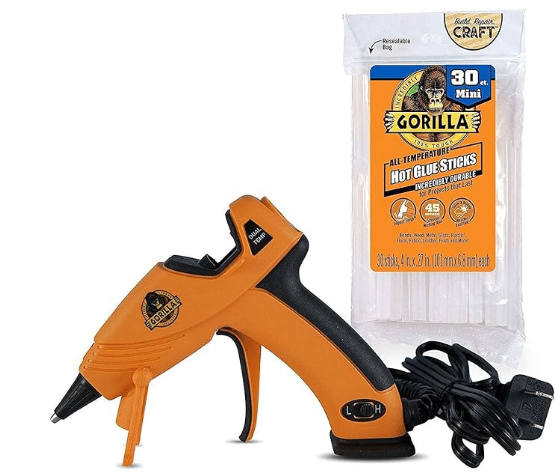
Cut them for your preferred design and use a hot glue gun to pin them in place.
Plaster of Paris
You will also need plaster to make the actual plaster-textured art.

Tips to achieve the best outcome in your textured 3D art
I just mix the powdered plaster with water very well until the texture is smooth. You don’t want it to be too thick; make it a bit on the runny side but not too runny.
Then you’re going to take a piece of cheap fabric and soak it in the mixture. The length of your fabric will depend on the size of the canvas used.
Take the fabric and cover the cardboard design or wires you placed in your canvas. That will help the fabric hold its shape better than having it collapse on its own.
Go ahead and play around with your fabric while it’s still soft until you achieve your desired outcome. Then you can cut off any extra fabric. Glue the remaining fabric on the sides to the edges of your canvas using the hot glue gun to keep your fabric in shape.
Keep in mind that you need to be gentle while cutting and shaping the remaining edges because otherwise, you might lose the shape you obtained.
Let your design set for a few hours, then make a bit of a thicker mixture of water and plaster, use a brush, and go over the design, covering the surface. The fabric at this point is still soft and flexible, so if your mixture is too thick, you will weigh down your design, and it will end up looking flat once it dries.
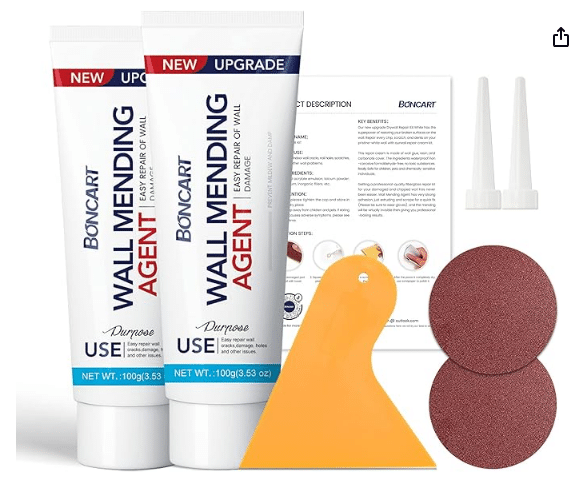
Another tip is to use gap filler for a very smoother, less powdery finish. Just make sure to apply enough layers for the best outcome and don’t forget to go down the sides and cracks as well.
Get enough tubes for your artwork because you do go through a bigger amount quickly.
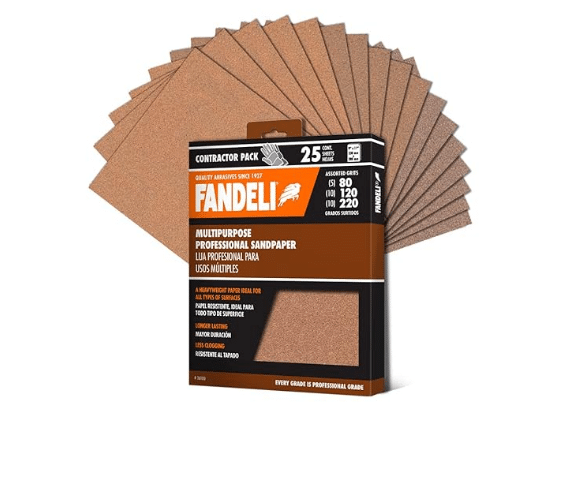
Last step will be to sand your surface with a fine-grit multipurpose sandpaper to smooth out the surface.
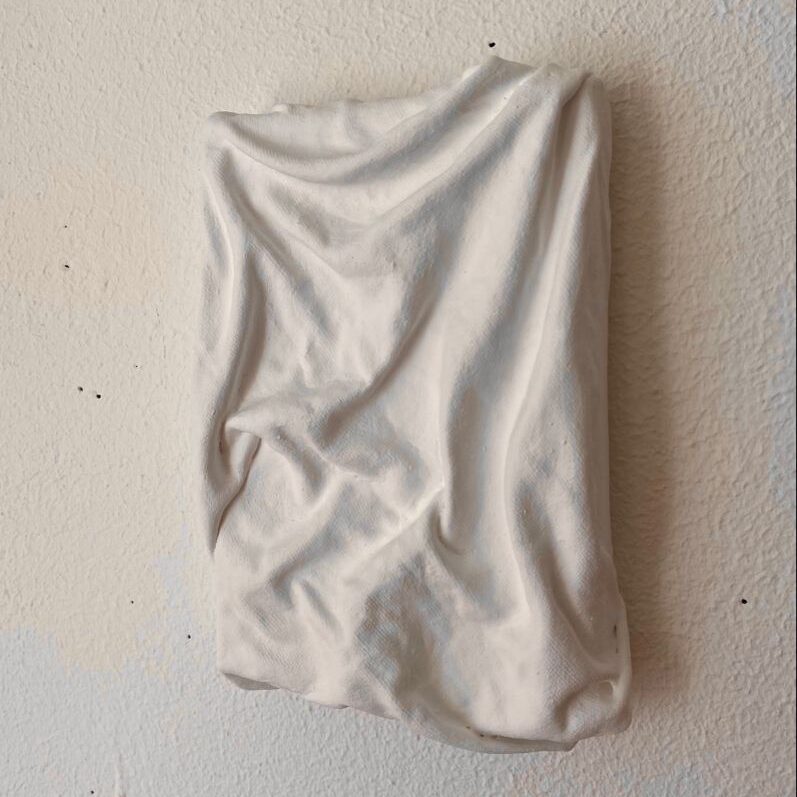
Once your design is fully dry (which might take up to 4 days because you work in many layers), you can finally paint over the design using your favorite color acrylic paint, or spray paint. You will need a smaller brush to apply the paint depending on your design and you might need to apply two coats to have it fully opaque. And this is your finished product.
Method 2: Make Textured 3D Art with Air Dry Clay or Modeling paste
Check out this article if you’re interested: Air Dry Clay Project ideas First-timers must try
So for this method, you will need:
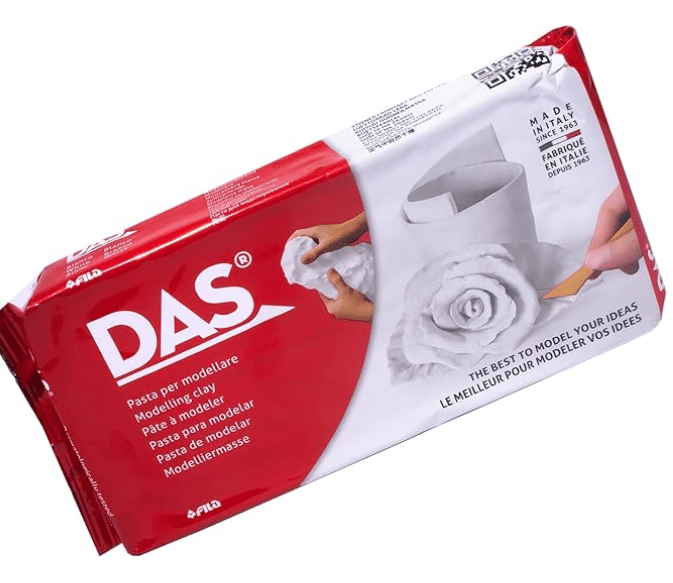
Air Dry Clay
And instead of using canvas, I recommend you opt for a panel because they don’t have thicker edges, and thus you will not need a large amount of clay.
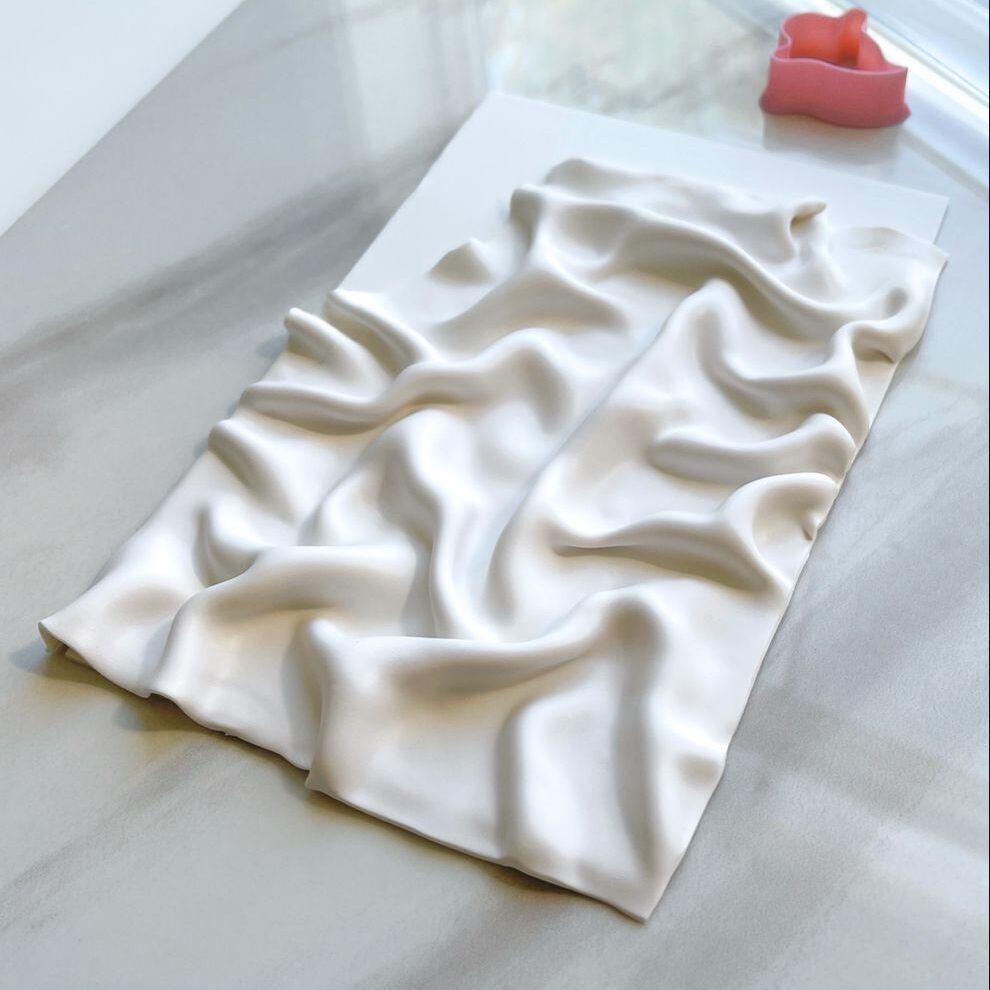
The way to make textured wall art with air-dried clay or modeling paste is to just roll out the clay using a rolling pin and make it as thin as possible because you want it to hold onto the panel and dry faster.
I would personally start by lightly spraying the panel with water. Just a tiny bit on the edges so the clay could stick to it. Then start shaping the clay to hold the folds that look like fabric. Spray again and smooth out the surface using a sponge or a soft paintbrush. Then you let it fully dry.
The last step is to sand the surface again and fix any cracks or holes that may show up after the drying process.
Feel free to paint over the clay using your preferred shade of acrylic paint.
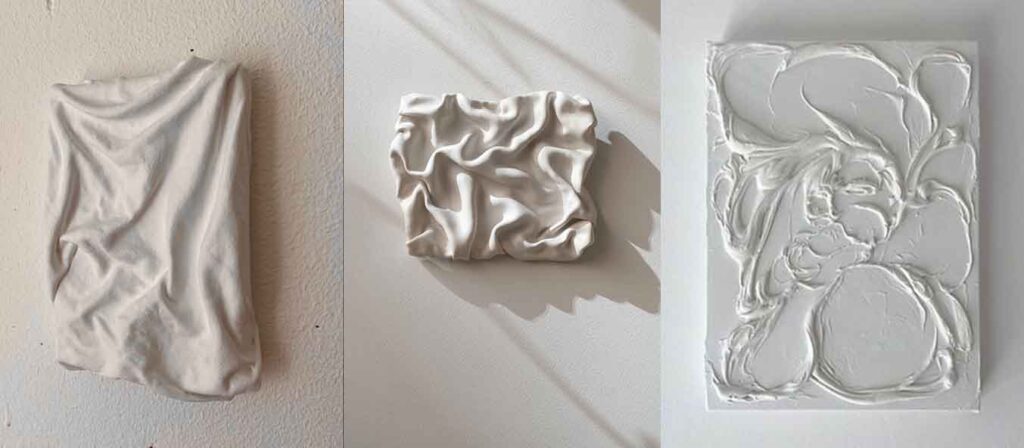
And your outcome will look something like this:
Overview
I love the abstract, modern, and minimalist feel that these pieces of art add to any space. And I would personally recommend you use modeling paste or air dry clay instead of plaster because it’s cheaper, easier to work with, and dries faster.
Let me know if you recreate this textured wall art and the tips you learned along the way in the comments section.
Enjoy creating <3
Great tips Ive been working on a 3′ x 2′ canvas , many falls , after using plaster of paris . Had to much cloth . Than went to pre mixed jount com. And wanting to use metel mess . Have not got it done yet . I really want to try the plaster of paris again , and your video taught me my mistakes . But after spending so many $$ I cant get it yet , so have you ever deluted joint com. ? Or used mess. Chicken wire ?? Thanks for sharing . Maens alot .. God Bless
Hey Lisa, tbh I have never tried joint com. But if I have to choose between plaster of Paris and gap filler, I’d say go for gap filler! Altho you would go thru a bigger ammount, the outcome is much smoother and take less time to dry. Also, good point on the chickem wire, I will make sure to add a video explanation to this article. Thanks for stopping by, God bless you ♡
The article on textured 3D art is insightful! Exploring two methods adds depth to creating captivating visuals. I appreciate the step-by-step guidance, making it accessible for beginners while offering valuable tips for seasoned artists. The emphasis on creativity and experimentation truly inspires!
what is a panel? is it paper, cardboard, wood? where do i get these panels?
yes it’s a fake wood (made from cardboard-like material but tougher). You can use the links from the article or you can find it in the nearest craft and art supply store to you.