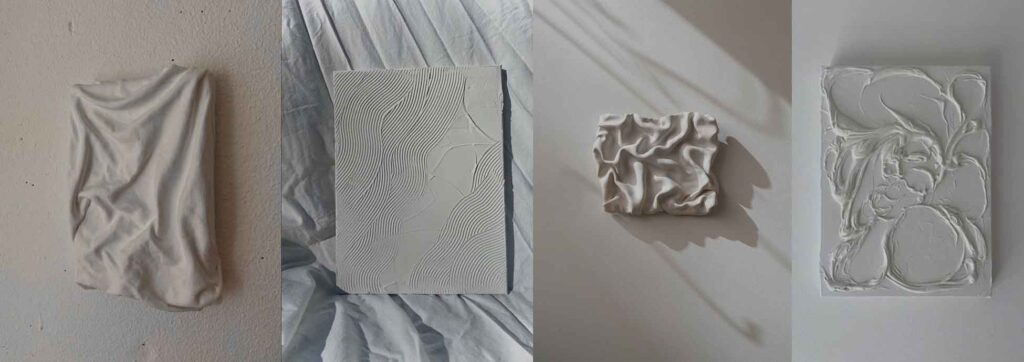
Paper Mache is a very versatile clay-like material that is used in DIY home decor and crafts. But I had the idea of using my DIY paper mache clay to add texture to my paintings and decided to share a recipe I found online with you so we can try it together. This is a very easy recipe to make and the mediums required are literally nothing.
How to make Textured 3D Art: Best Two Methods
Let’s first start with making a paper mache paste
For that you will need:
- 1 part flour
- 2 parts water
- Salt (for those who live in humid areas like myself)
- A mixing bowl
- A whisk or a spoon
Mix your water, flour, and salt together in the bowl using the whisk, and keep stirring until the mixture has no lumps and is more of a thinner consistency. If your mixture is too thick, you can add flour and if it is too thick, dilute it with water until it feels right.
How to DIY paper pulp to use it for your Paper Mache Clay?
You are going to need:
- Paper (preferably thinner paper like newsletters or magazine pages)
- Hot water (not boiling)
- A mixing bowl
- A whisk or you can your hands
- A blender (optional)

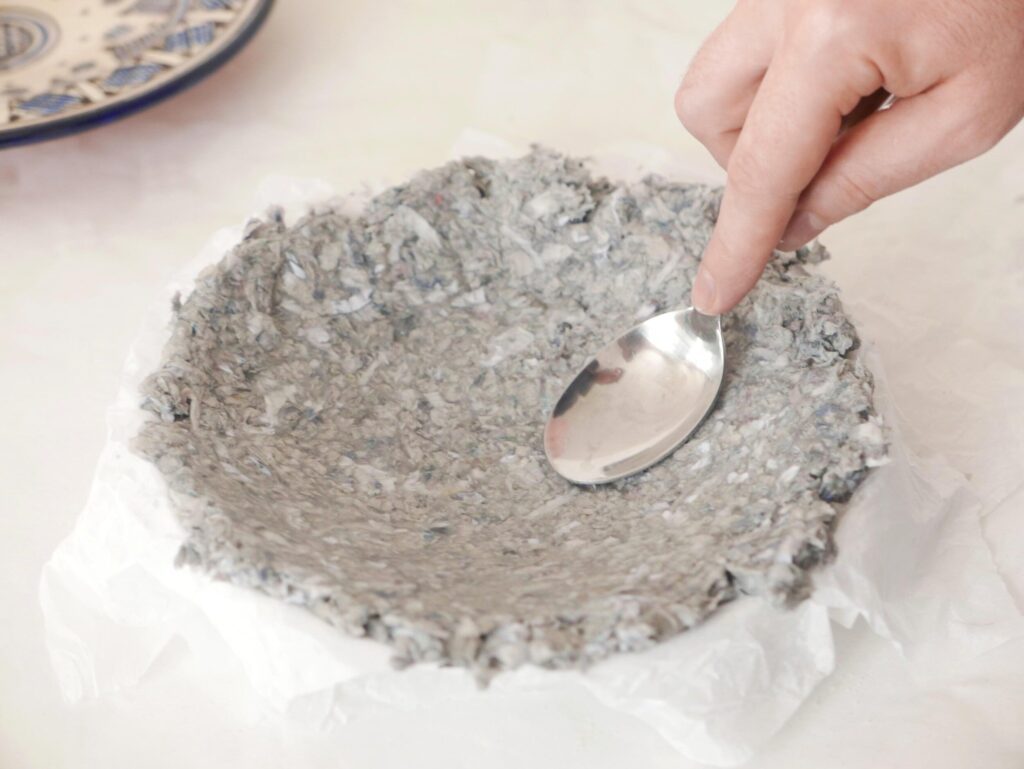
Hand-cut the papers into smaller pieces, and put them inside a bowl. To that, you’re going to add enough water to fully immerse the paper. Let the mixture set overnight for the paper to soften (around 8-12 hours). Once it’s set, use a whisk or your hands to blend the pieces of paper until the consistency of your paper pulp is more like a thick soup. You can either stop here or blend your mixture in a blender for a softer, smoother consistency.
While blending your mixture, make sure it’s not too dry and not too runny. In case it is too runny, you can use a bit of instant starch to thicken it up. You can either dry this up, store it in the fridge (up to 1 week) or use it to make the paper mache clay for your textured art.
What will you need to DIY Paper Mache Clay?
- 1 cup (around 236.588ml) drywall joint compound
- 6 cups (around 1.4l) paper mache paste
- paper pulp (the one from the listed recipe above)
Mix the ingredients very well together in a bowl, let it rest, and then apply it on your canvas or preferred primed surface, let it dry completely and then you can paint over it or add the details you’re willing to add.
Conclusion
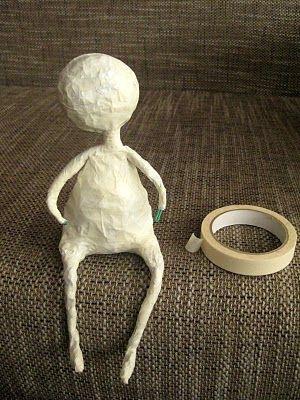
These are my three tried and true recipes for paper mache paste, paper pulp and Paper Mache Clay. All of them work equally great, so depending on the ingredients you have at home, you can make one. You can use paper mache to make dolls, add texture to your artworks, or any other DIY project of your choice. Enjoy creating <3


2 Comments