This Air Dry Clay ideas list includes
- Incense holders
- Ring display
- Picture and cardholders
- Female figure air dry clay projects
- Jewelry trays
- Clay earrings
- Mugs and cup ideas
- Vases, brushes, and pencil holders
- Fun decor items (board games and fruit baskets)
- Candle pots
- Bookends
This page contains affiliate links, meaning I earn a commission if you use those links. Please read my Disclosure for more details.
Follow me on Pinterest for more ideas
My story with Air Dry Clay?
It all started not too long ago, I was reading the book Mindful Thoughts for Artists by Georgina Hooper, which is one of my favorite books for artists. Suddenly, I had that feminine urge to try a new medium and get out of my comfort zone, so I typed this into my notes:
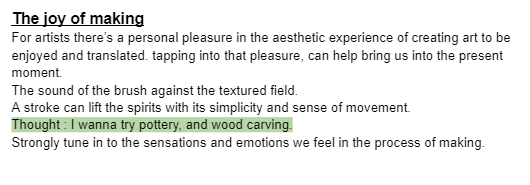
I slept on the idea for a while, then I seriously started looking around for pottery workshops, which I couldn’t find in my city 🙁 This time, though, I didn’t give up; I looked for alternatives, and then I came across air-dry clay. A few days later, a close friend of mine (who is a painter as well) posted a video of her sculpting clay and I was like bingo this is what I need. And so I asked her and she was kind enough to give me details on where to find the supplies.
Days later, after watching every video on YouTube that had the words air dry clay in the title, I finally managed to attempt the first try and I LOVED it!
What do I think of the air dry clay experience as a first-timer?
It was such a therapeutic yet exciting process, it really awakened that love I had for crafts and DIYs as a child.
This was my first air dry clay creation and I’m obsessed with how perfectly imperfect it looked (because it broke later :)).
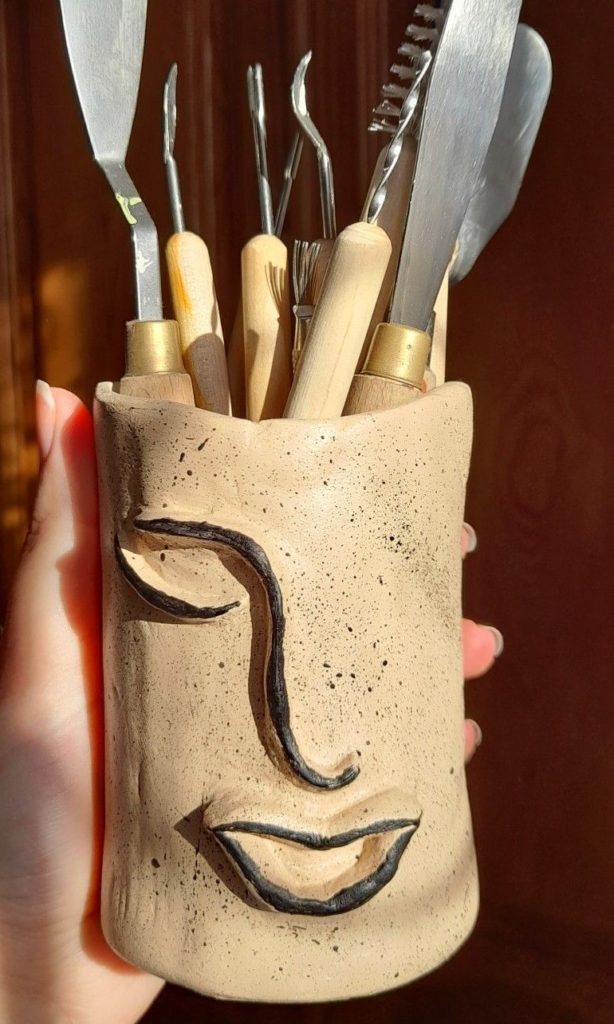
So with that being said, here’s a beginner’s pov on how you can start doing clay and enjoying it. I also included a list of easy clay project ideas (with pictures) that you can try as a beginner.
Things you should know before deciding to go with air dry clay:
- Air Dry Clay is NOT water-resistant (means you can mostly use your creation for decor.), but with a thin layer of glaze it would not be damaged by water, just make sure you don’t submerge the clay form, or keep liquid in it all the time.
- Clay, especially air dry, is very easy to mold and shape so it’s the best choice for beginners and people who never sculpted anything before.
- Air Dry Clay dries pretty quickly, so make sure if you’re willing to use it again later, to wrap it in a plastic wrap where the air won’t sneak in.
- You can paint your creations using acrylics or any water-based paint for the best results. Read this article to know which art paint to use for which art project.
- Always top your air dry clay creations with glaze to keep them protected.
Where to start with it?
Get that clay and start working, it’s that simple 🙂
You will need:
- Air Dry Clay (any brand you can find).
- Water (to make your molding and shaping process easier).
- Sponge (so you can soak up access water and smooth the rough edges).
- Soft paintbrush (for finishing touches and smoothing surfaces).
- Sandpaper (to sand your creations once they’re dry).
- Sculpting kit (optional, but you’ll need it if you’re willing to sculpt a face, motif, or whatever).
- Air dry clay varnish to seal your final piece. You can get your hands on a matte or a glossy finish.
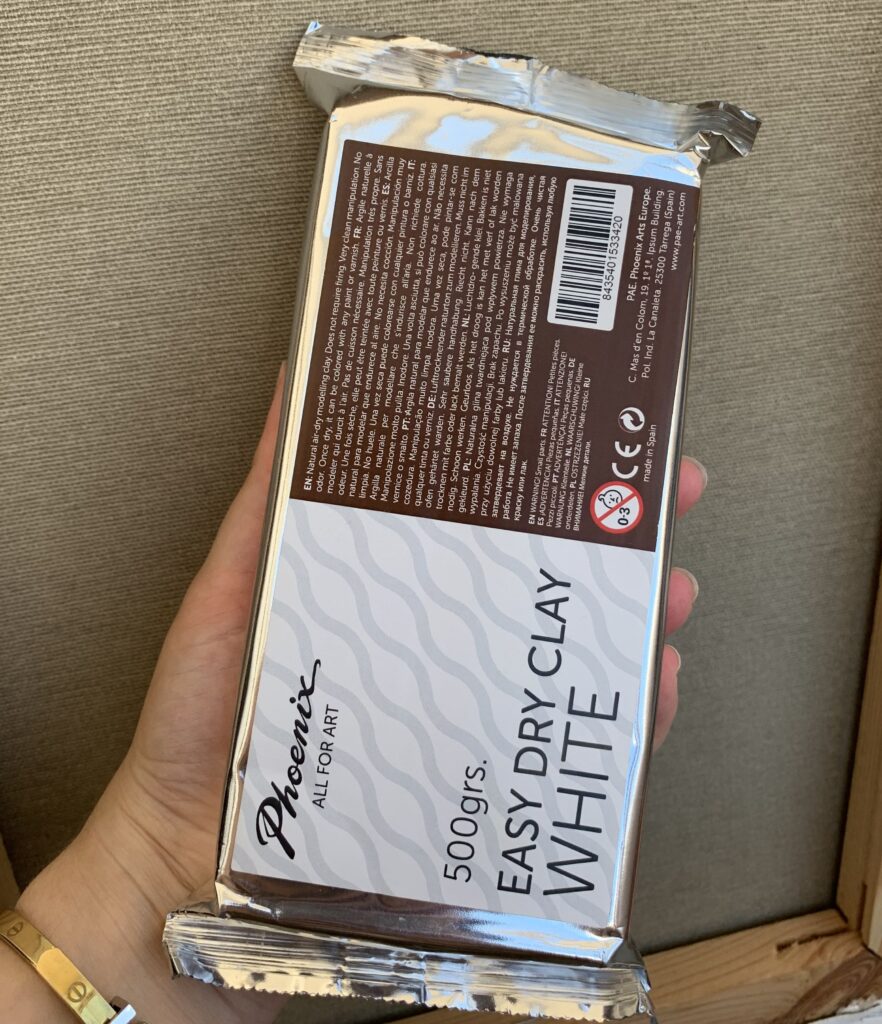
This is the air-dry clay I use, and you can get yours on Amazon here.
Before you get started with your experiments
Keep in mind that:
- You need to prep your space and cover it (air dry clay could get very messy).
- Make a paste by mixing some clay with a bit of water. This shall act as a glue to stick your pieces together and work your edges (make sure it’s not too runny yet not too pasty).
- Keep all your needed equipment close by because air dry clay is quick to dry and that will make it harder to mold if you keep leaving it and going back to it.
- Leave your creations in an airy space with no direct sunlight to avoid them from getting cracked.
- The drying process will take from 24 to 48 hours depending on how humid where you live.
Let’s move to what you can create using air dry clay for the very first time:
Air Dry Clay ideas for your first-time trial
I made the selection of these air dry clay project ideas for those who are very beginners or trying clay for the first time because hey! I was there not too long ago 😉
Make sure you save these ideas to your Pinterest if you find them helpful.
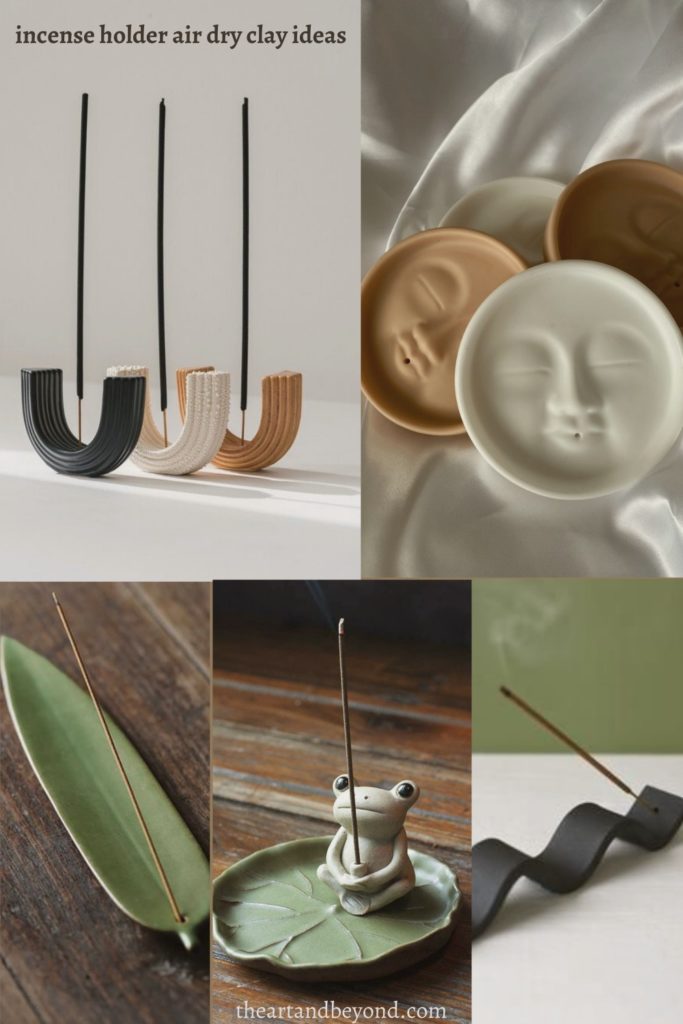
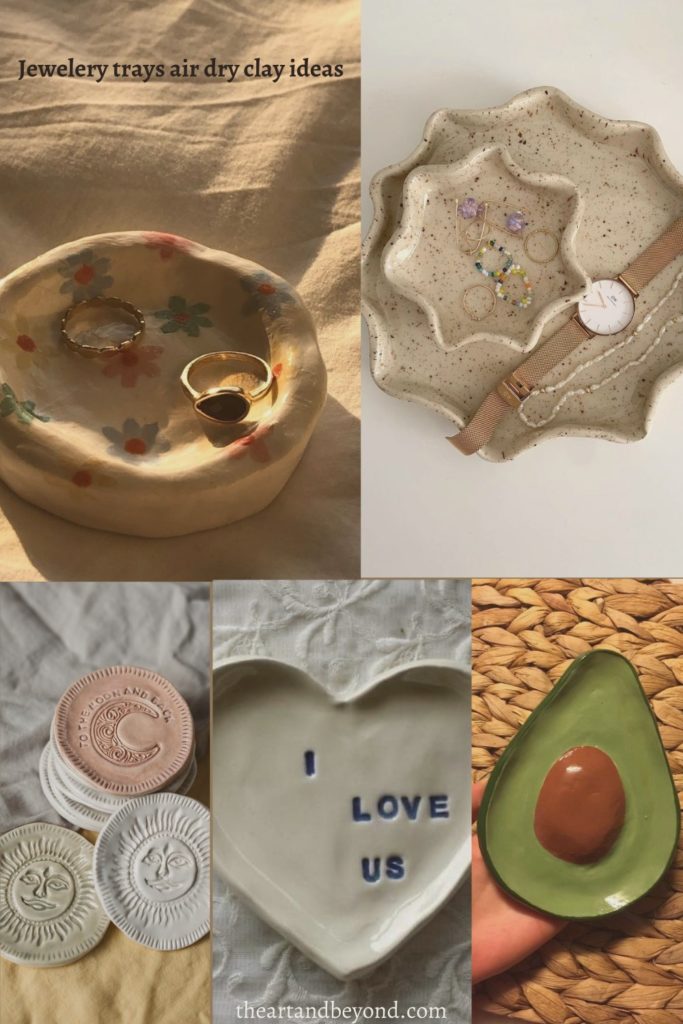
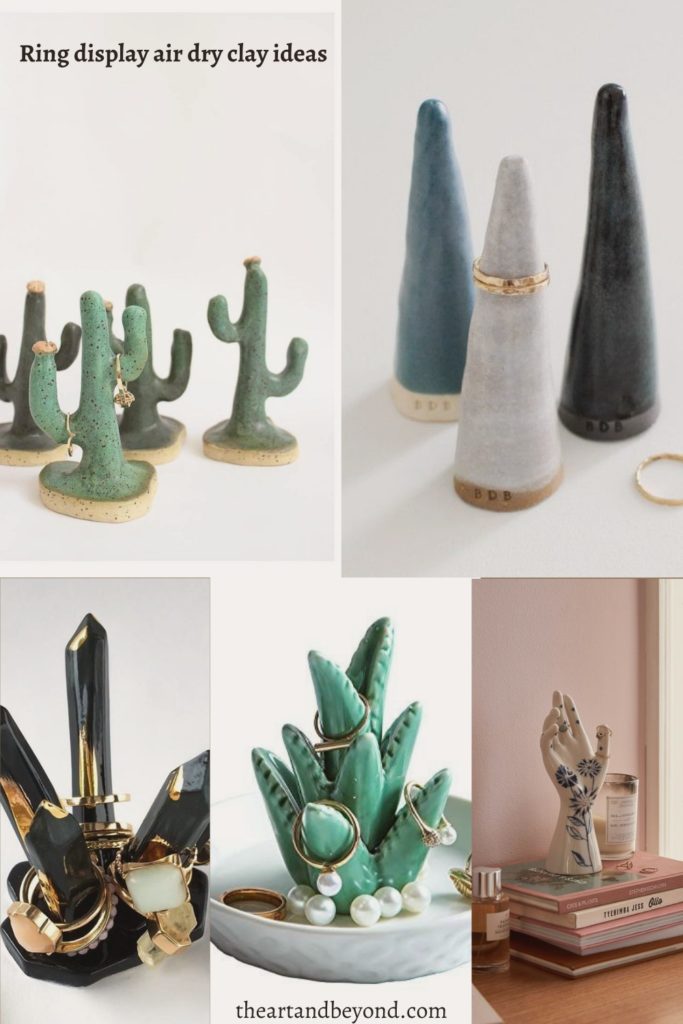
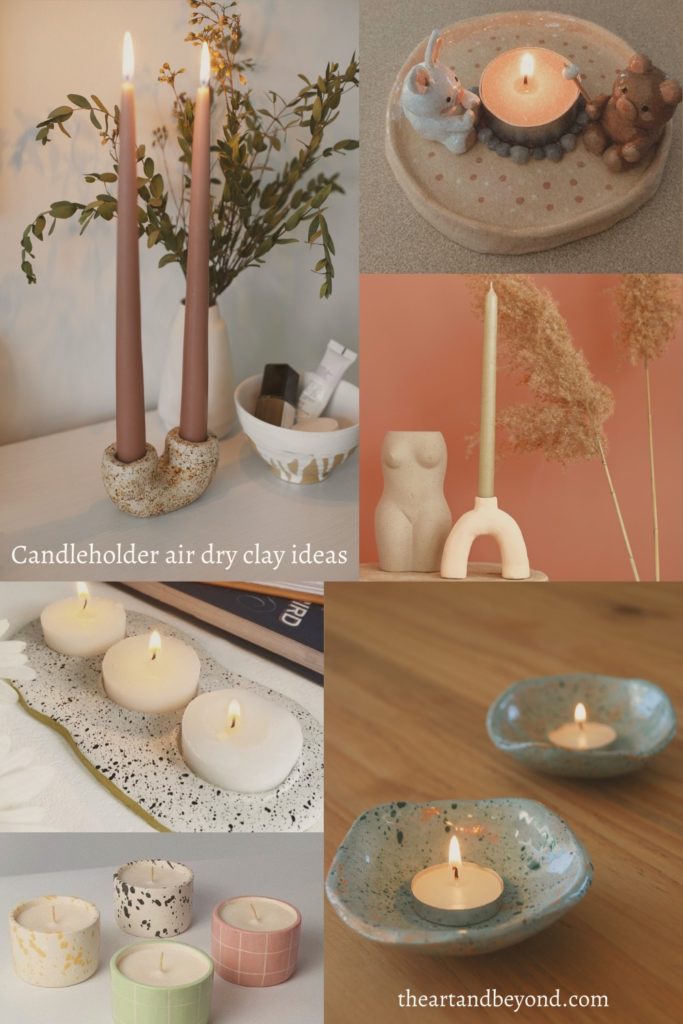
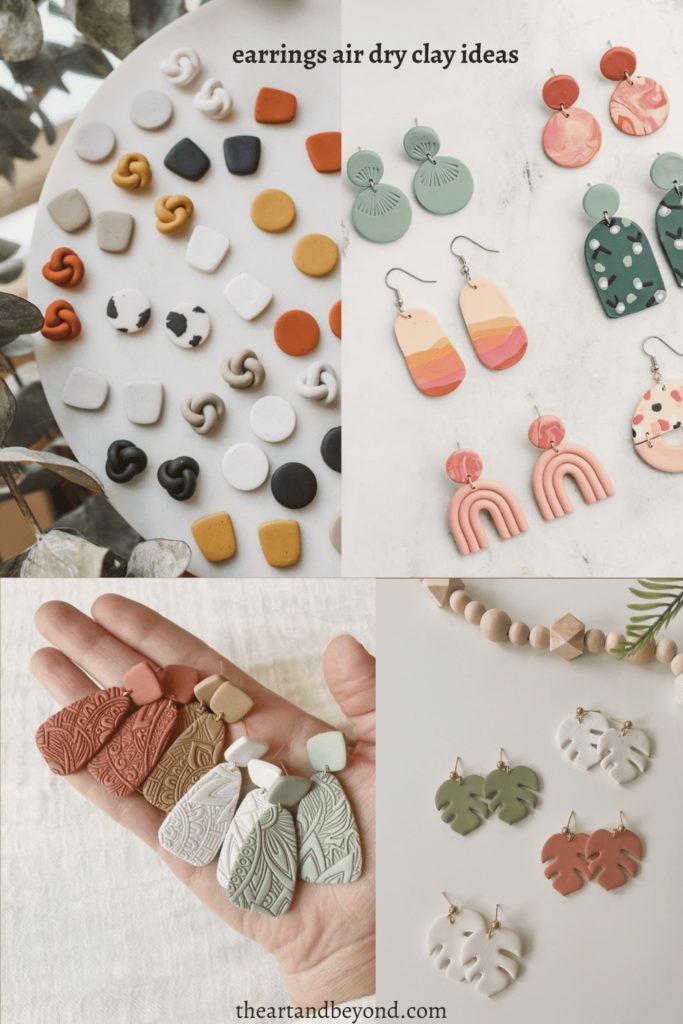
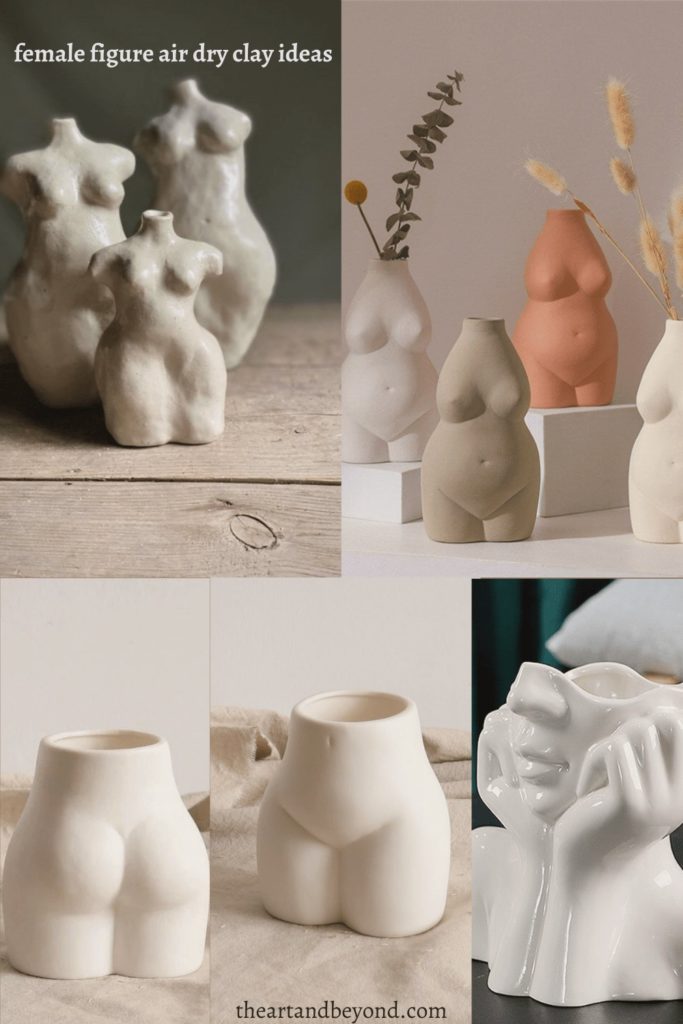
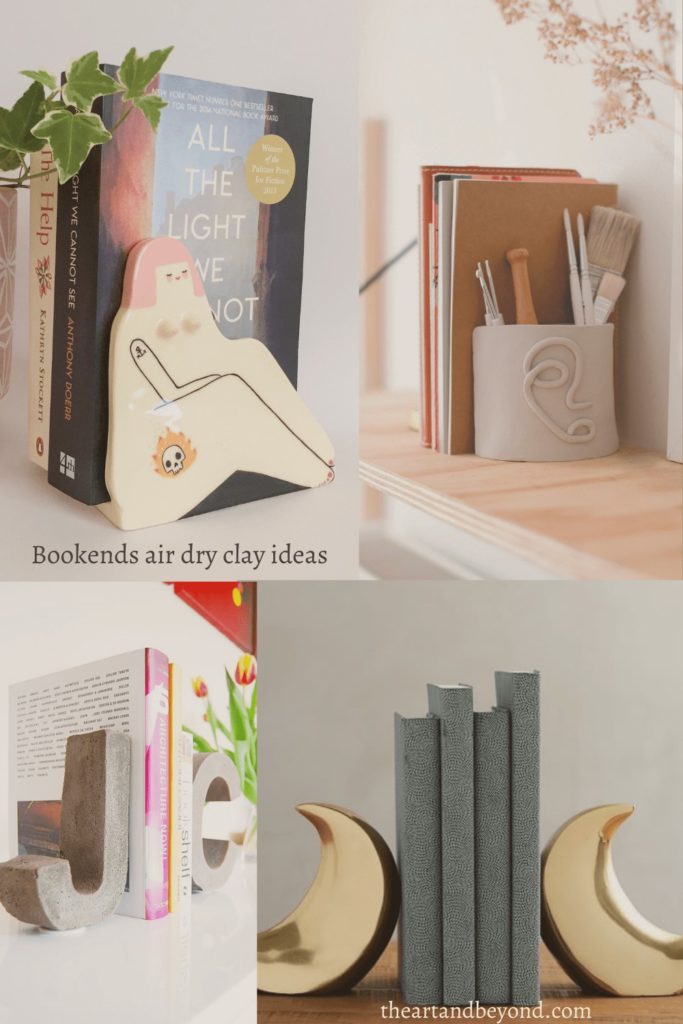
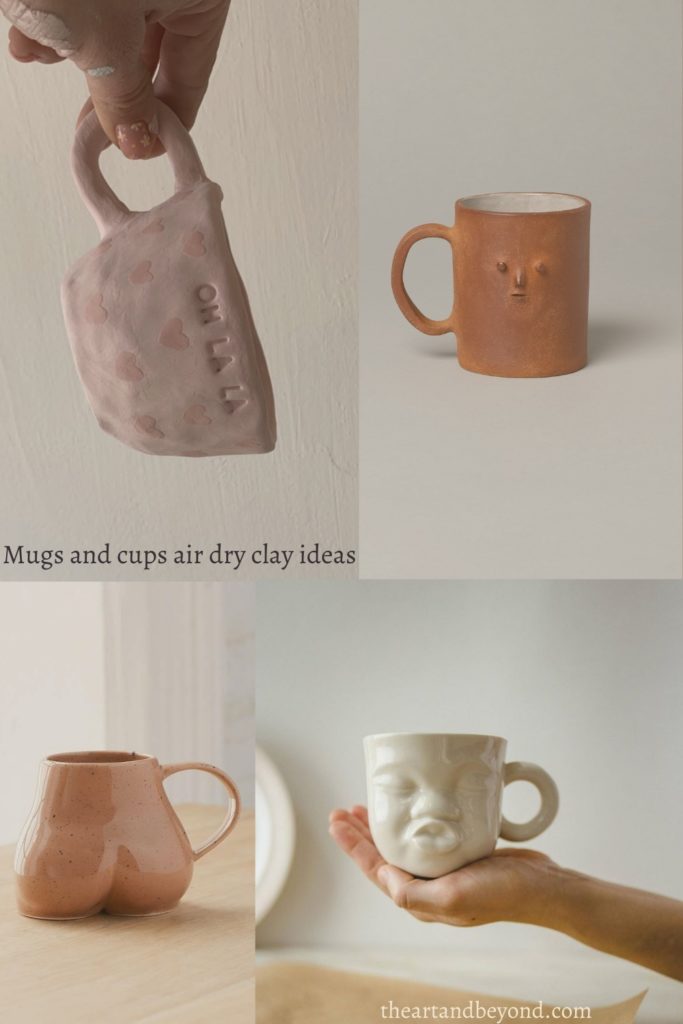
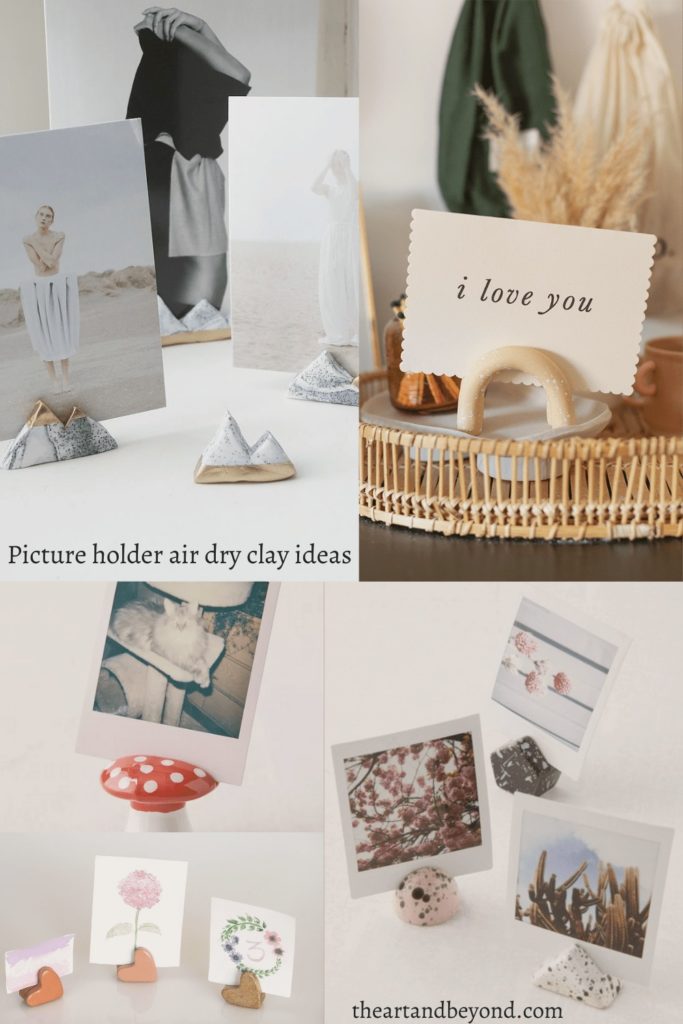
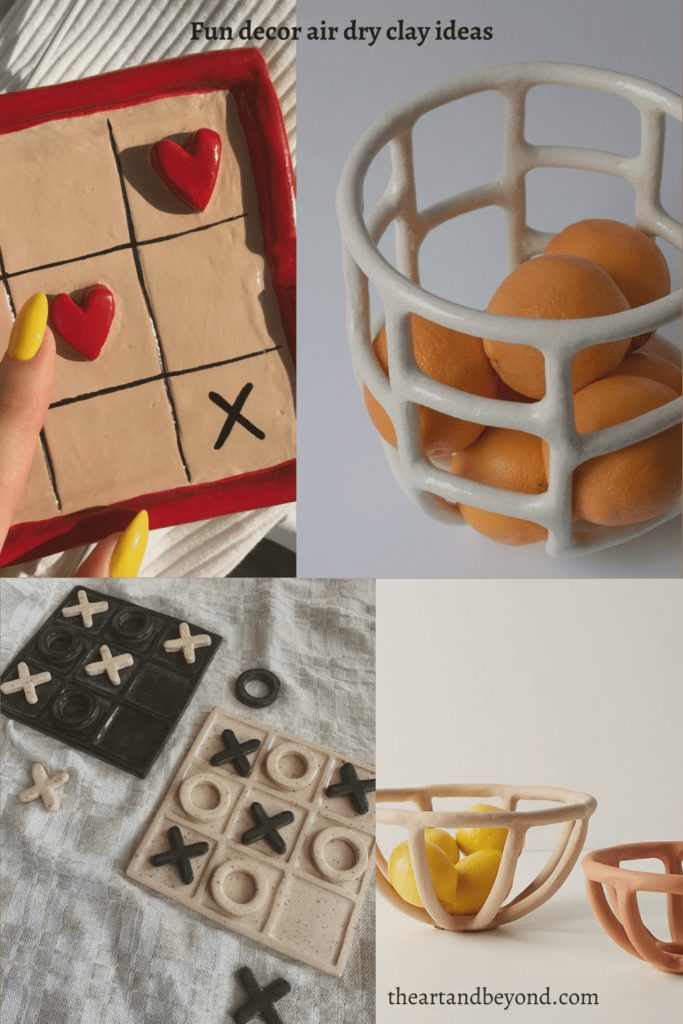
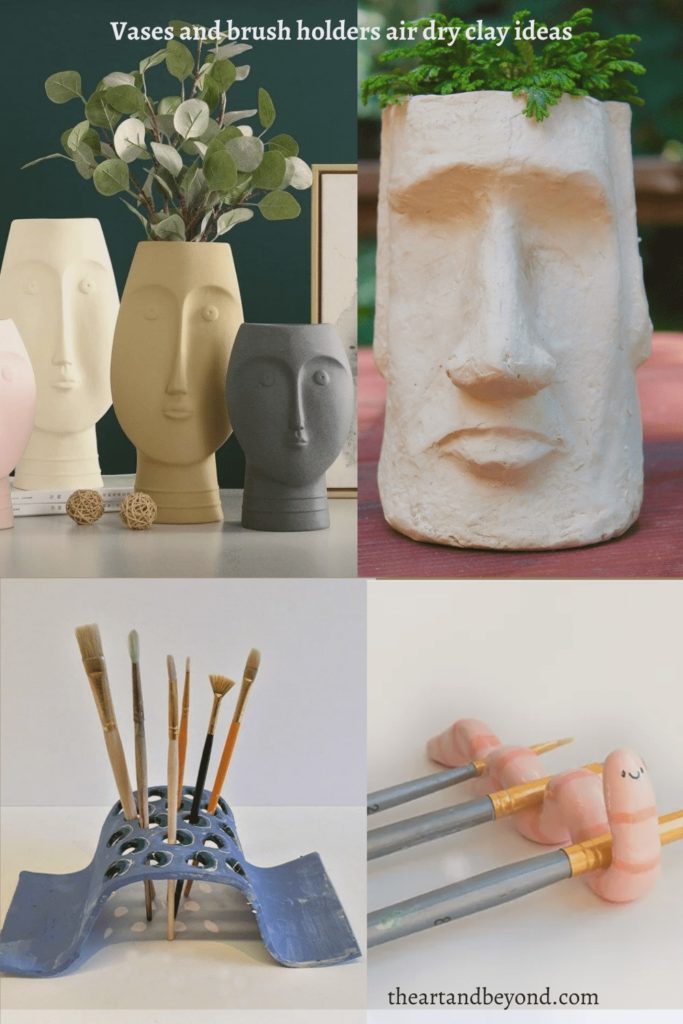
These were some of the ideas I saved for myself so I can try recreating them with air dry clay. Share with me in the comments the first air dry clay project you think of doing <3 I’m excited to know.
You can also DM me your creation via Pinterest or Instagram.



Thank you for the great tipps, can’t wait to try them out 😀
You the most welcome <3 don't forget to share with me the outcome when you do 😉 can't wait
Love your ideas even though I am horrible at art 🎨 I will still try my best thanks 🙏🏻👍🏻
Hey Catherine! It gets better the more you practice 😉
Love your post, really helpful. Can you recommend a glaze that can be used with air-dry clay?
Hey Ali, here’s an affordable glaze that I get on Amazon.
I want to start a business with air dry clay but as a person with eczema and allergies I am afraid if air dry clay might be toxic or has particles flying while I’m using it so if you have any information if it’s safe to work with and doesn’t need heavy protection equipment please let me know! And if you have any safe suggestions for crafts let me know as well, thanks!
Hey Yusrah, air dry clay is a safe product as it is okay for kids to use as well as adults. However, as someone with eczema, I would still wear protective latex gloves just in case. Definitely avoid oil paint and any finishing coat with a strong smell. Acrylics are fine from my own experience and if you are okay with clear manicure top coats you can also use that for a glossy finish of your piece.