I recently joined a felting class at the organization I volunteer for in the Czech republic and I think I have found a love I never knew I had for doll making and felting. So for that, I’m gonna take you along with me while we make your first felt doll together. This beginner’s guide to doll making is gonna be your best friend.
This article is part of my new series where I discover and try new hobbies. Subscribe for more blog posts like this.
This page contains affiliate links, meaning I earn a commission if you use those links. Please read my Disclosure for more details.
Why Choose Felt for Doll Making?
There are obviously so many ways to make dolls. The most common is with clay, fabric and/or cotton. However, felt is an ideal fabric for beginners because it doesn’t fray, is easy to cut, and comes in a variety of colors. You don’t need a sewing machine—just a simple needle and thread! Plus, felt dolls can be customized endlessly with different outfits, hairstyles, and accessories.
How to make your first felt doll: step-by-step instructions with patterns included
To make your first felt doll, you will need a pattern. And while you can sketch your doll and easily turn it into a doll pattern for yourself, it is much quicker to follow one that was previously made. And for that reason, I am suggesting two options: Buying a book with patterns, or downloading a pattern online.
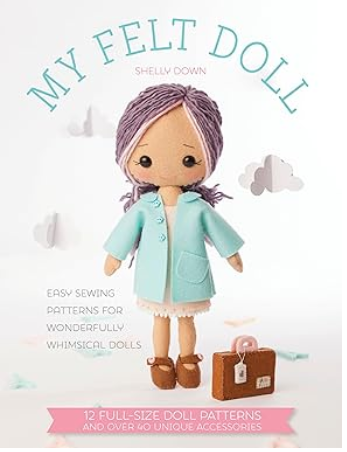
My Felt Doll: Easy sewing patterns for wonderfully whimsical dolls
If you want to go with the book option to make your first felt doll, here is the book I’m using for mine.
If you want to use a ready pattern, here are 3 free felt doll patterns that you can use
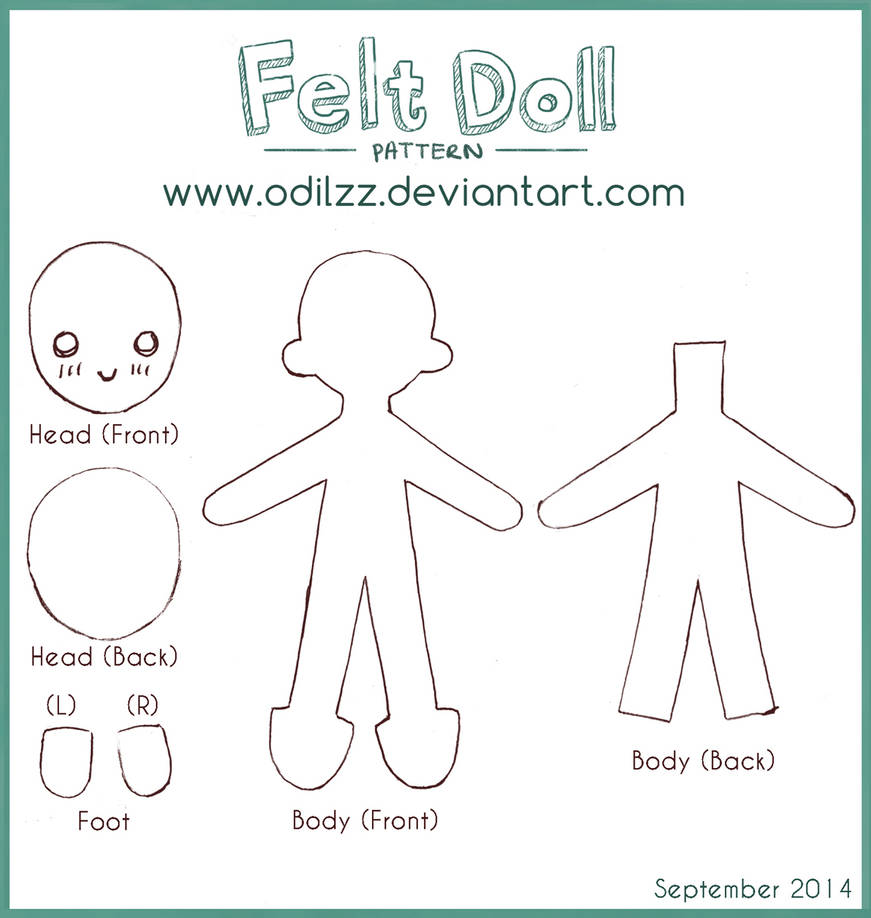
Click on the following links to see the PDF files
Pattern by The Craft Patch (link: https://www.thecraftpatchblog.com/felt-paper-doll-pattern/).
Pattern by SarahForde on DeviantArt. (link: https://www.deviantart.com/sarahforde/art/2012-Plush-Pattern-Free-423167622).
The supplies you are gonna need to make your first felt doll
To make your first felt doll, you are gonna need:
- ✅ Felt sheets (various colors)
- ✅ Embroidery thread & needle
- ✅ Scissors
- ✅ Stuffing (cotton or polyester fiber)
- ✅ Fabric glue (optional if you can’t sew)
- ✅ Beads/buttons for eyes (or embroidery thread)
Step-by-Step Instructions for making your first felt doll from a pattern
Let’s say you choose this pattern.

Step 1: Cut the Pattern
- Download and print the felt doll pattern. (I recommend you print it, because it will help you keep the sizing accurate).
- Cut the different pieces from the paper pattern and use them to trace the shape into your felt sheets. Cut out the fabric pieces based on the pattern and experiment with different colors. You can even make more than one doll simultaneously.
Step 2: Embroider the Face
- The front of your head (from the pattern), has a face for reference. Use embroidery thread to stitch the doll’s eyes and mouth. You can also use buttons or beads for the eyes.
- Optionally, if sewing is too hard for you, use fabric glue to glue tiny beads for the eyes.
3: Sew the Doll Together
- Place the front and back pieces together.
- Leave a small opening to add stuffing.
- Use a simple blanket stitch to sew along the edges. (Again, if you can’t sew, feel free to use fabric glue instead)
Step 4: Stuff and Finish
- Gently fill the doll with stuffing.
- Sew the opening closed.
- Add extra details like clothes, hair, or accessories.
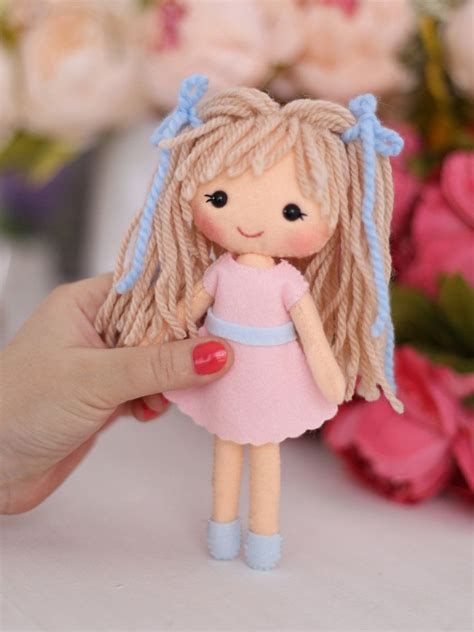
5 Ideas on how you can add hair to your felt doll
Adding hair to your felt doll is going to add so much character to it. Don’t worry if your free pattern didn’t come with any hair, as I prepared these 5 ideas for how you can add hair to your doll depending on your resources.
1. Yarn Hair
Use yarn to create hair by cutting it to your desired length and then attaching it to the head with glue or stitching. This gives a full, fluffy look and can be styled by braiding, curling, or trimming.Choose yarn colors to match the doll’s personality—pastel for a soft look or bright colors for a fun, playful style.
2. Embroidery Thread Hair
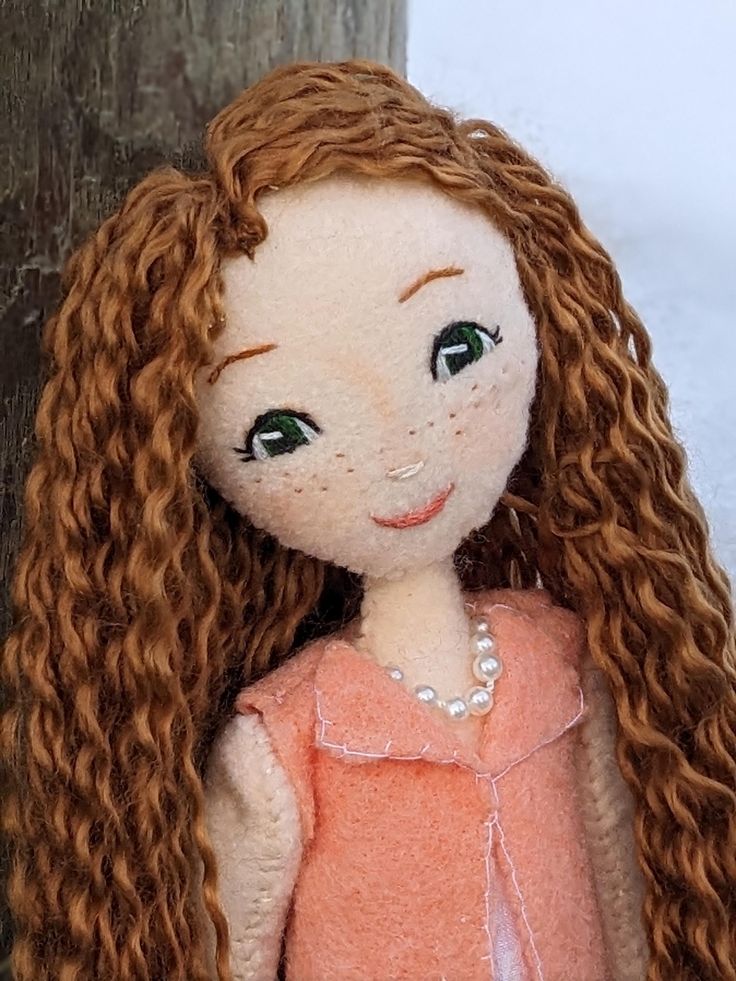
Stitch strands of embroidery thread into the felt to create hair. You can use different thread colors to make it multicolored. Making the hair from embroidery yarn offers a finer, more detailed texture compared to yarn. You can also make bangs or tiny braids with embroidery thread for intricate styles.
3. Felt Hair
Cut strips or shapes from felt and stitch or glue them onto the head. You can make felt “hair” by cutting it into long strips or small shapes (like triangles) to form a layered or textured look. The look of this hair offers a more polished and structured look. Felt hair can be great for a doll with a more minimalist or modern design.
4. Button or Bead Hair
Use buttons, beads, or small fabric circles to form “hair” by gluing or stitching them on the doll’s head. This gives a very quirky and abstract look—perfect for a unique or artistic doll design. You can use tiny buttons for a shorter or pixie-style haircut or larger beads for a fuller look.
5. Faux Fur or Fleece
Use faux fur or fleece fabric to create soft, thick hair. Cut the fabric into strips and stitch or glue them onto the doll’s head. This will give the doll a plush, voluminous, and cozy appearance. Faux fur works well for a plush, teddy bear-like aesthetic.
Final touch ups
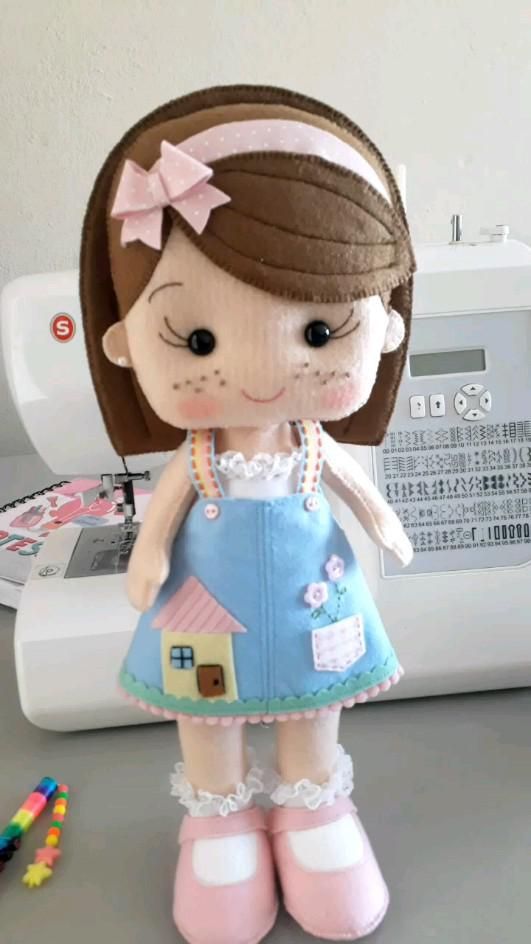
If you have extra felt sheets left, make sure to create outfits for your doll. You can also use lace, ribbons, scraps of fabric or embroidery to add decorative elements. Experiment with different felt colors and figure out ways to make your own doll patterns for future projects. Share with me the dolls you end up making and enjoy creating <3
1 Comment