Hand embroidery art is something I have been willing to try for over two years. Recently, I resigned from my job, laying the groundwork for me to return to creative hobbies and try new things. Before jumping straight into the practice side of hand embroidery art, I decided to write this guide and add inspirational pictures to it so that not only me but also my readers could open up to a newer form of art.
This beginner’s guide will include:
- Basics of hand embroidery art
- Material needed for hand embroidery art
- How to get started with hand embroidery art
- Steps to starting your first embroidery art project
- Tips to enjoy your practice
- 10 stunning embroidery designs for inspiration
This page contains affiliate links, meaning I earn a commission if you use those links. Please read my Disclosure for more details.
Hand embroidery art
What is hand embroidery art?
Hand embroidery is the art of decorative stitching on a surface (fabric) with needles and thread. There are many types of yarn, threads, and fibers to stitch with, and many stitches to use. Hand embroidery is a decorative element in garments and accessories.
Hand embroidery has been used by artists on all types of quilts, from crazy ones, applique and pieced quilts, traditional as well as modern or contemporary quilts. Embroidery may include ribbons, beads, and buttons. Hand embroidery can be decorative as well as practical.
Material needed for hand embroidery art
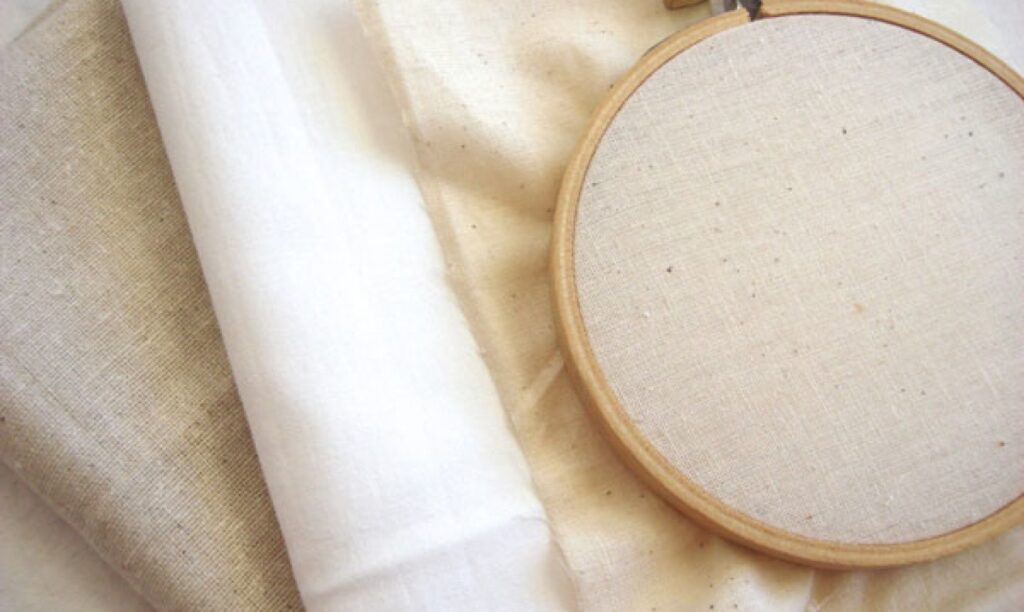
Hand Embroidery Fabric
Someone with more experience in hand embroidery would be able to give you more in-depth details about the appropriate fabrics to use for hand embroidery, but based on my research, I found that twills (like linen twill), satin weaves, and the like are great for embroidery, especially when a heavier ground fabric is desired.
As a beginner, I would recommend you start practicing on those before moving on to something more challenging. You can find an article that would help you learn more about the choice of fabric in the description of the following image.
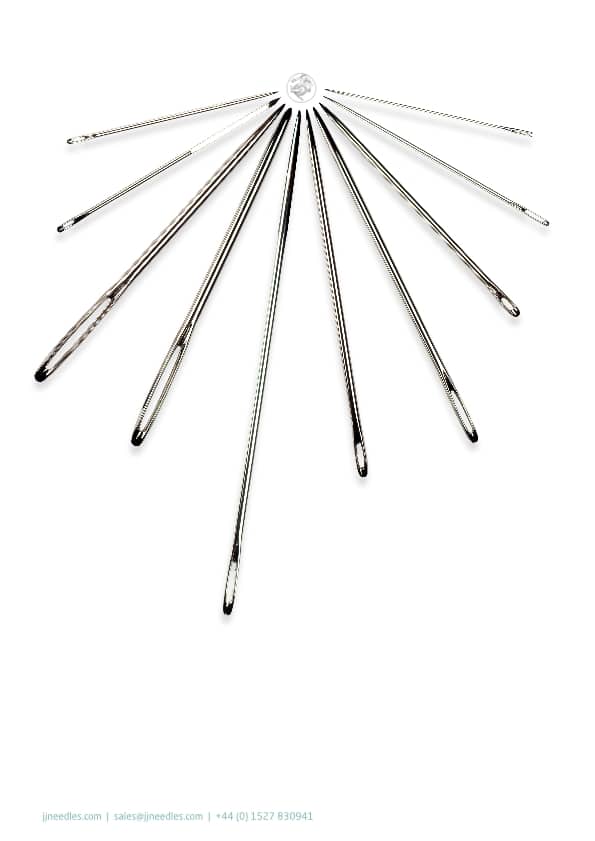
Hand Embroidery Needles
For your needles, I highly recommend you check out this guide, as it includes everything you might be looking for before you start your practice. In the guide, it says that the most popular sizes used to embroider are sizes 7 and 9. I get these kits on Amazon. They are affordable, and in case I need a bigger or smaller needle, I’d have it on hand already.
Embroidery Hoops
When you are doing hand embroidery, having your fabric held taut in an embroidery hoop can be particularly beneficial. Tension helps you make neater stitches. It can also prevent puckering in the spaces between stitches. Again, I buy hoops that come in sets just in case. If you would rather buy a wood set, check this one out.

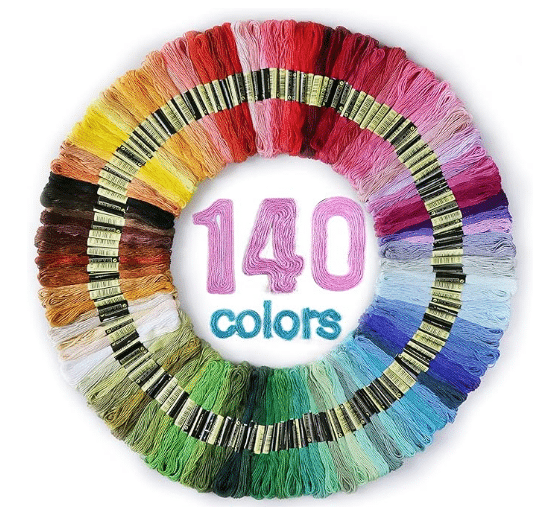
Hand Embroidery Thread
There is no best floss to use for hand embroidery; if it’s string-like (thread, shoelaces, yarn, etc.) and you can get it through your material (fabric, pre-cut wood, canvas, etc.), then you can use it for hand embroidery.
That said, the most common type of thread used by stitchers, in general, is six-stranded cotton embroidery floss. Stranded embroidery floss can be divided into separate strands, allowing you to work with just 1 strand, all the way up to all 6. So I naturally get a set of 140 colors of cotton threads.
Other tools you might need
You might also need scissors, needle threaders, marking pens, etc.
How do I get started with hand embroidery art?
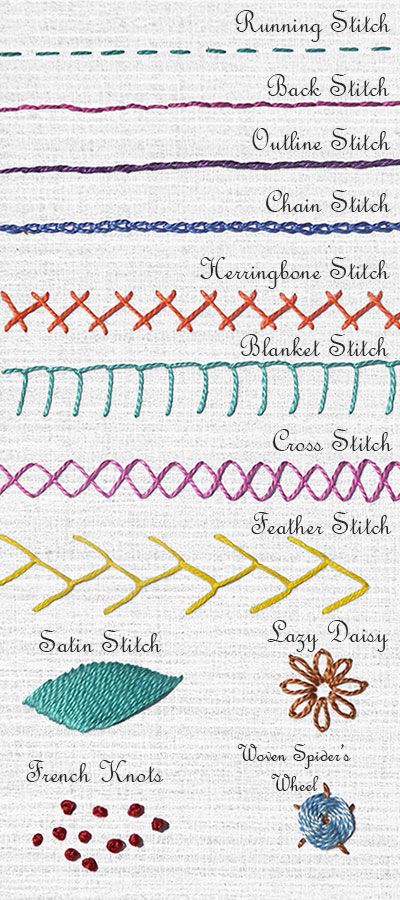
The first thing to learn and practice are the different stitches and what they look like. This will help you decide the stitches depending on your preferences and the outcome you want to reach. Here’s a list of some basic stitches that you can look further:
- Running stitches
- Back stitches
- Satin stitches
- French knots
- Chain stitches
- Split stitches
- etc.
This hand embroidery guide has been so helpful to me and I highly recommend you get your hands on it. It includes a great selection of simple patterns and step-by-step stitching.
Steps to starting your first hand embroidery art project
1. Choosing a Design
Your first step in starting your practice is to choose a design. I know that those complicated, full-of-detail, designs are super intriguing, but I highly recommend you pick the simplest one possible. The boring ones will be the easiest to start up with and then you can work your way up to harder and more detailed designs.
Here are some simple patterns to get started with your embroidery journey.
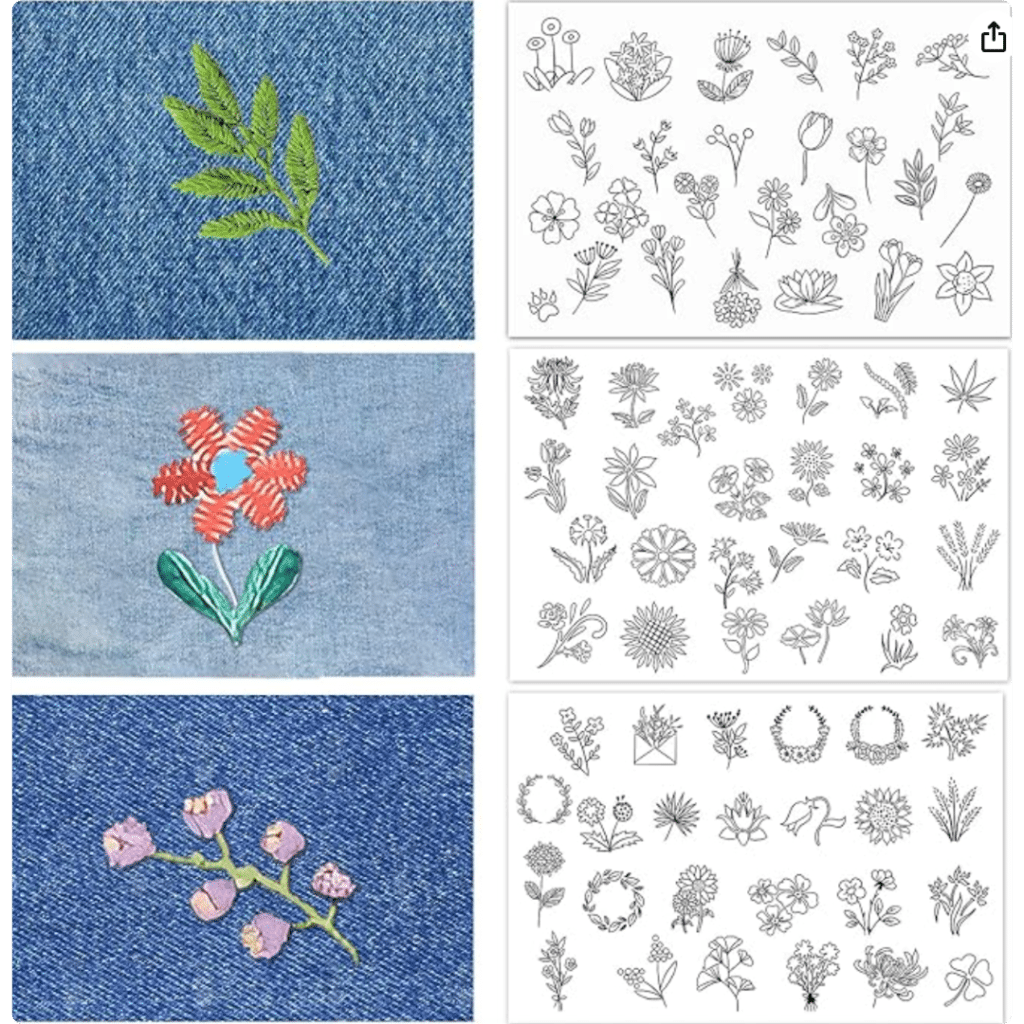
2. Transferring the Design
If you are not very artistic, you can buy a pattern like this one, or this one, that you can stick on the fabric, then start to embroider, soak in warm water once you’re done and it will dissolve the embroidery paper. No drawing no leftover ink or pencil on your fabric.
Another way to transfer your design is to draw it yourself, and you can check my article on how to transfer or draw a design here.
3. Setting Up Your Hoop
First loosen the screw and separate the inner and outer hoops. Place the inner ring (the one without the screw) flat on your work surface. Drape your fabric over the inner ring with the right side up. Slide the outer ring over the fabric and inner ring. You may need to loosen the screw even further to get it to fit over. Don’t be tempted to pick up the inner hoop as you put the outer hoop on. Keeping it on a flat surface will help you line up the inner and outer hoop so they’re even. You can press the outer hoop down with your hands and not worry about it sliding off the other side. Tighten the screw part way. Make it tight enough that the outer hoop will not slip off when you pick it up, but not fully tight. Carefully pull the edges of your fabric to tighten it. Work your way around the hoop pulling evenly on all sides. Be firm about this, but don’t pull so hard that you warp the fabric. This will help even out the fabric and remove any bumps and folds. Once your fabric is taut, tighten the screw the rest of the way.
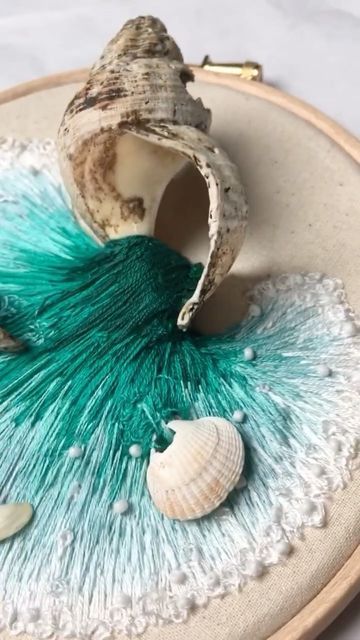
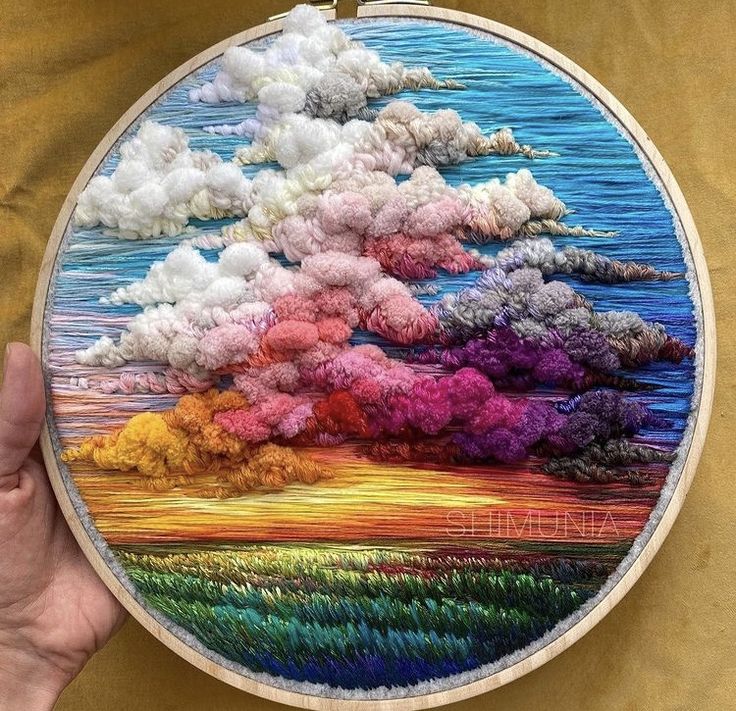
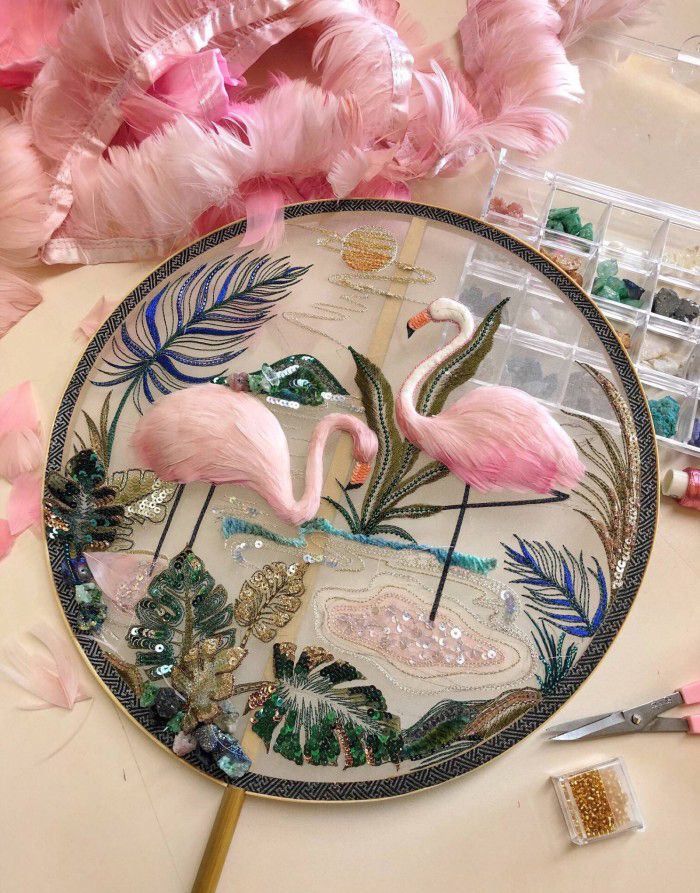
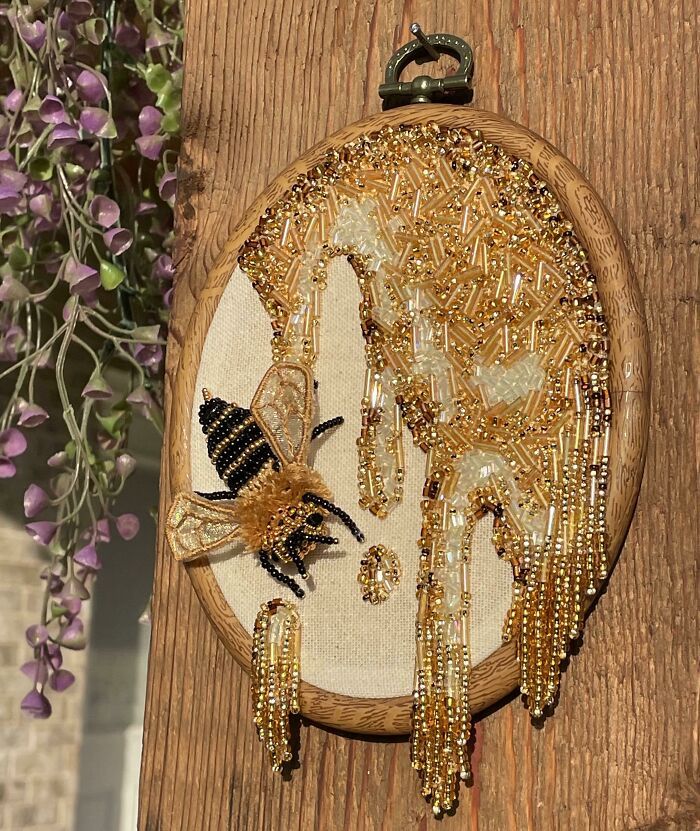
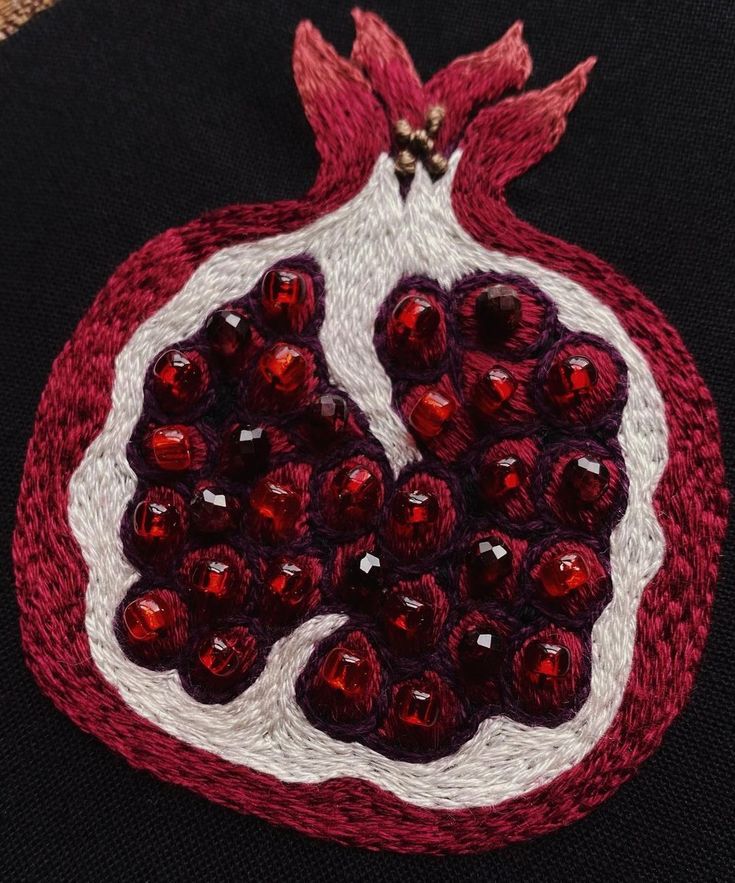
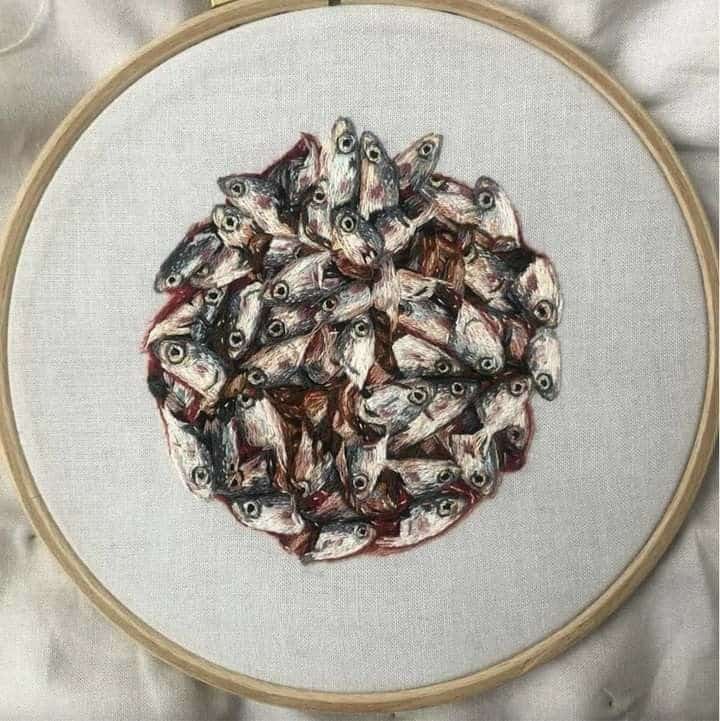
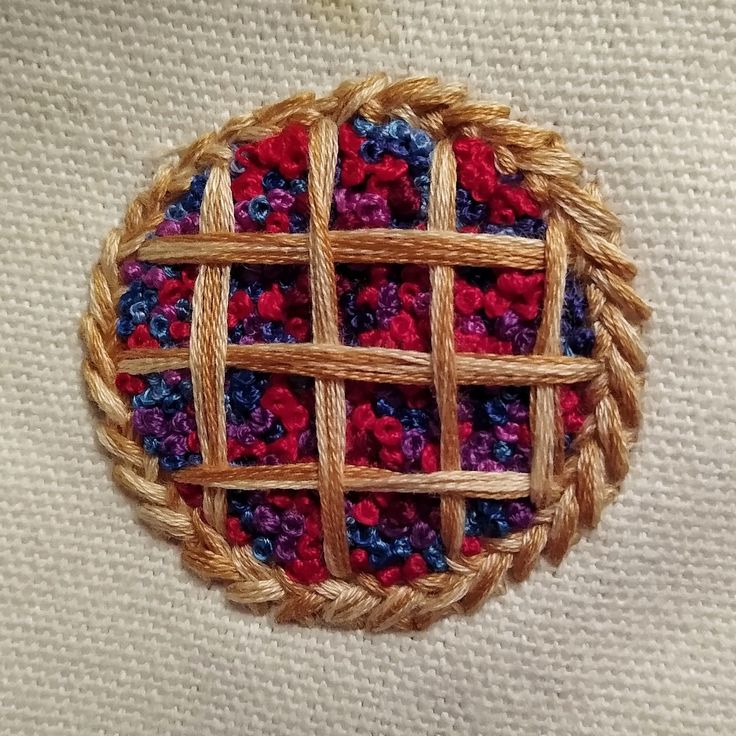
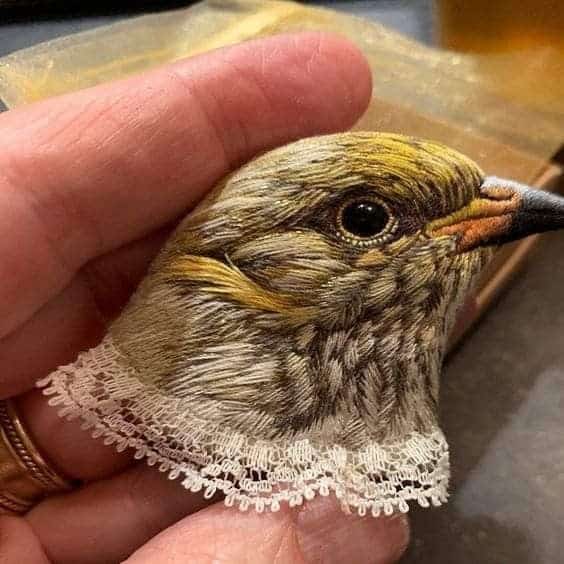
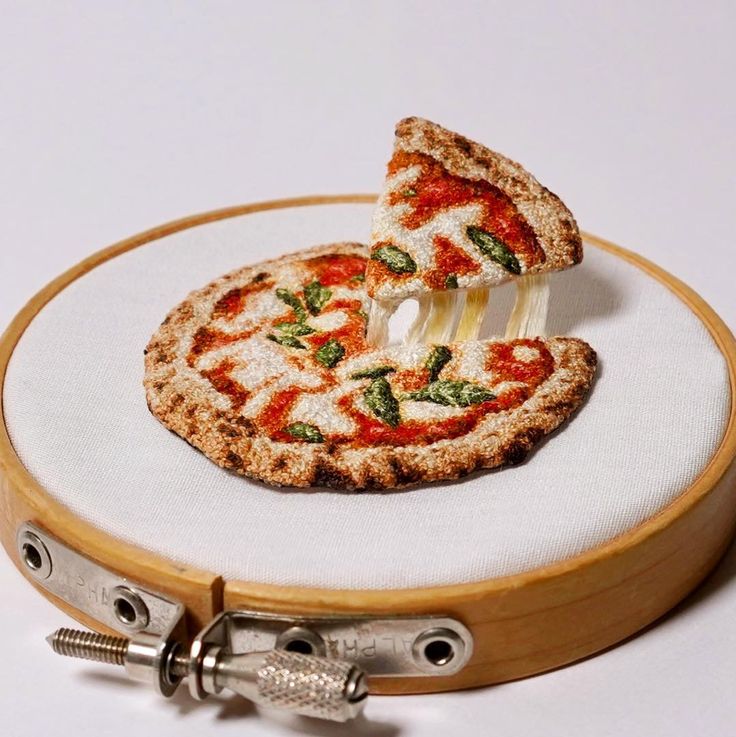
10 stunning advanced embroidery art designs for inspiration
2 Comments